Make A Custom Quilting Stencil from any Line Artwork by Jen Eskridge
 Jen Eskridge
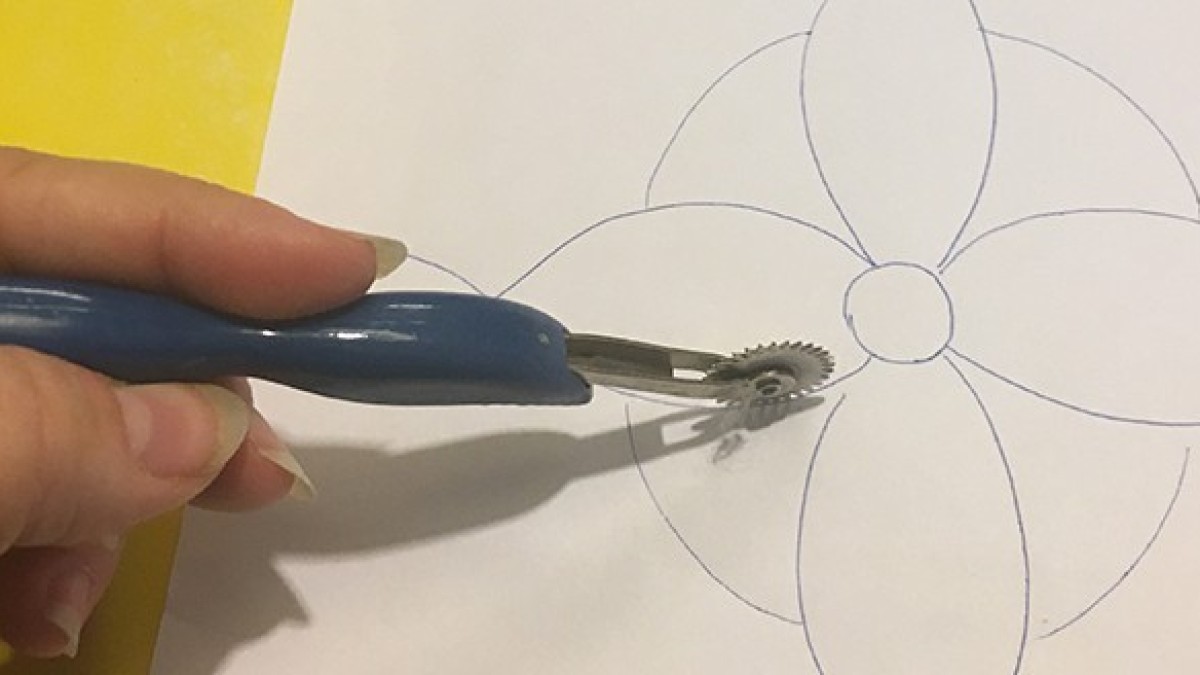
With a dressmaker's marking wheel and some chalk powder, you can make a custom and personalized stencil for quilting to suit any design.
Make Custom Quilting and Sewing Stencils
From the ReannaLily Designs archives, this tutorial is timeless! Use any line art to create a personalized custom stencil for your next quilted project.
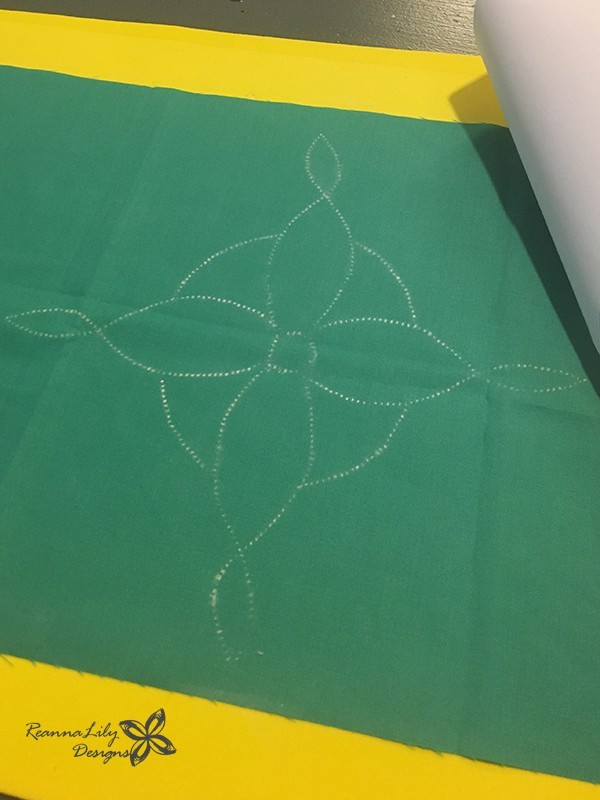
One method for making a stencil involves sewing through marked paper with an unthreaded needle. This absolutely works, and you may have seen it before. This is NOT that tutorial, but is achieved as easily as this:
- Print a design.
- Sew through it with NO thread.
- Flip it over.
- Use chalk to transfer the little needle hole marks to your fabric.
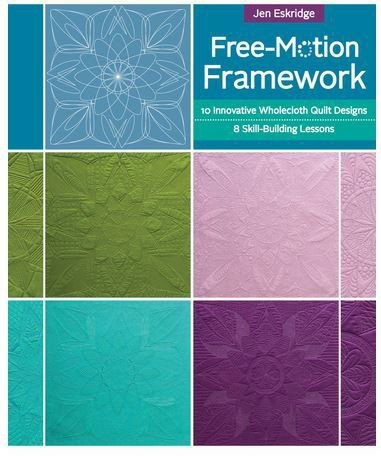
For my use, I thought, “Custom stencils would be fan-freakin-tastic for Free-Motion Framework quilt markings!” It would be so much more convenient than tracing through light colors and it is ideal for dark color fabrics. And would be a cool thing to have for all the Mini Wholecloth classes at the Quilty Quill.
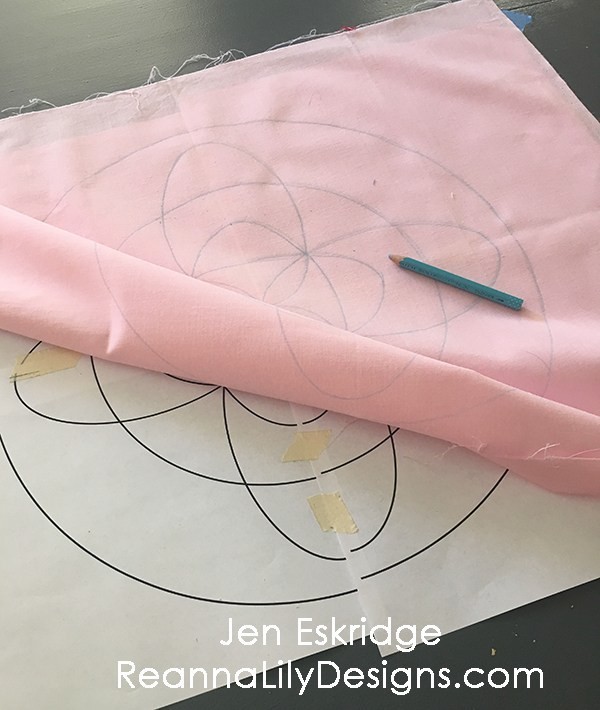
For projects in the book, each quadrant is 20″ x 20″ to mark on a 40″ square of fabric. I wasn’t too sure how to go about sewing through the paper without crumpling up a portion of the 20″ square in the throat of my domestic sewing machine.
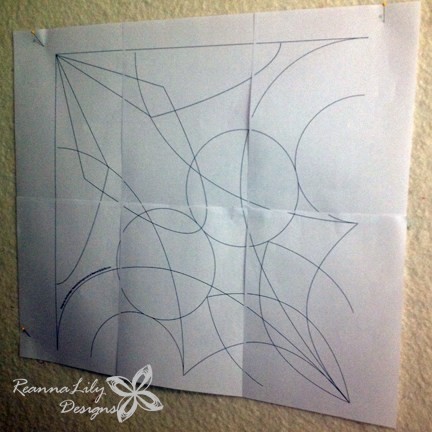
I needed to brainstorm a tiny bit to make sure my dressmaker's wheel would work for this stencil... What if there was something spongy for the tracing wheel to punch into? For dress makers purposes, you need to roll the wheel on a hard surface (like a rotary cutting mat) to have the carbon markings show up. If your goal is to puncture the paper, though, as ours is, it is needs some give.
Here’s what you’ll need to give this project a try. Keep in mind, I am going to use it to mark linear designs as guides for free-motion quilting. You could use this for quilting stencils, guidelines, hand embroidery and so much more!
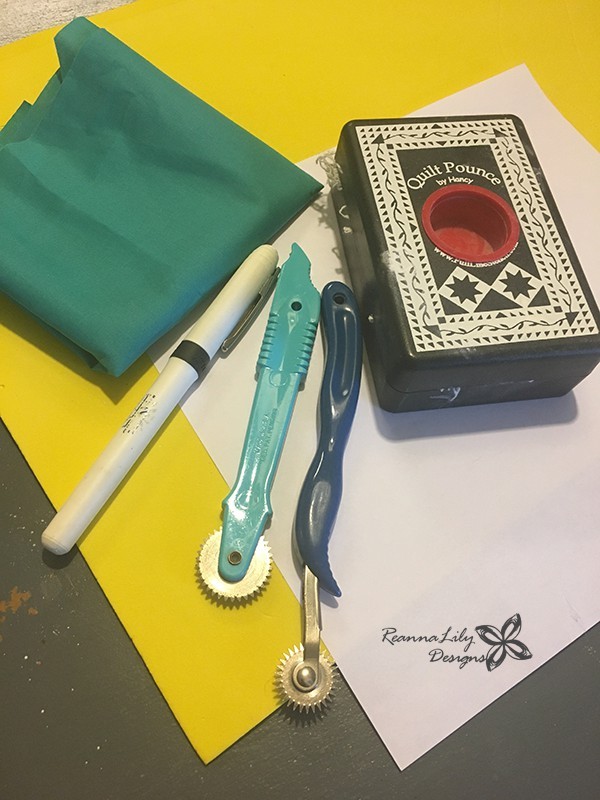
Supplies
- Craft foam sheets 1/8″ thick
- Dressmaker’s tracing wheel
- Pouce Pad with Iron-off chalk
- Fabric
- Paper & pen or printed design
Prepare the Stencil
If you have not printed a copy-right free image from the internet, simply draw a design on paper. Anything will work for this test run.
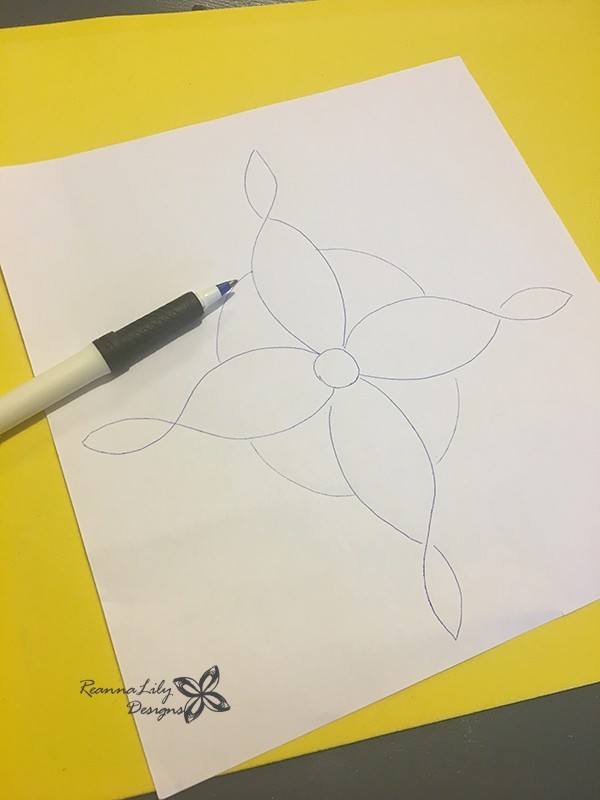
Notice the difference between the two tracing wheels I have on hand ➡️
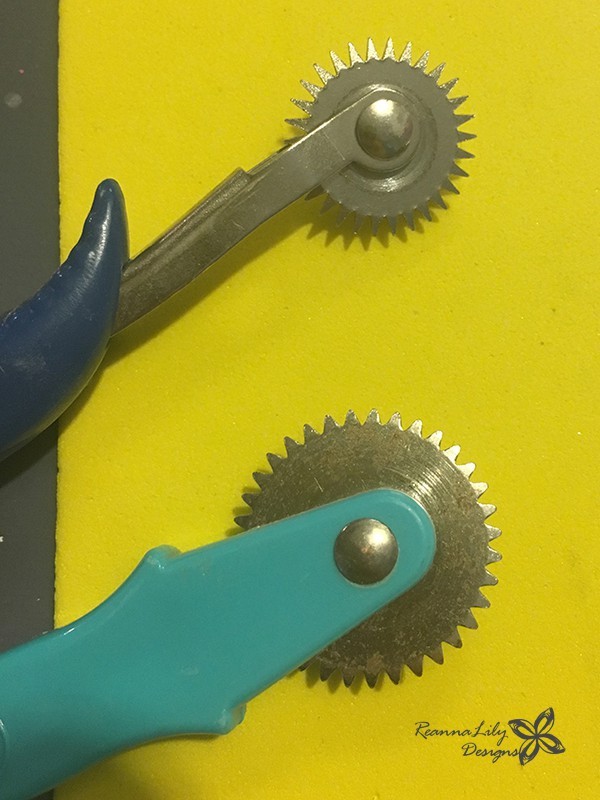
The tracing wheel at the top has deep teeth and the one at the bottom has much shallower teeth. Since we need holes through the paper, I opted to use the deep-pointy-teeth tracing wheel.
Take a quick look at the craft foam. The odds are you have this around your house already.
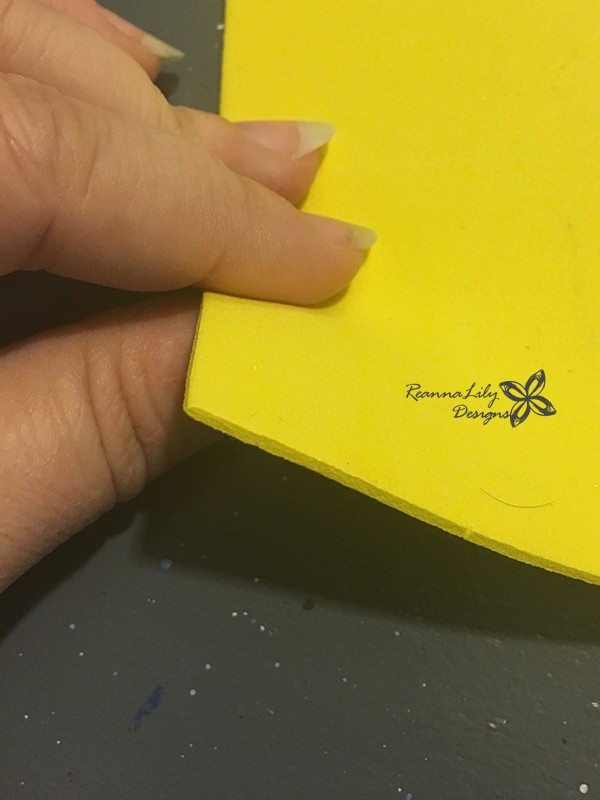
Lay the paper on the craft foam, print side up.
Trace over all the lines with the tracing wheel.
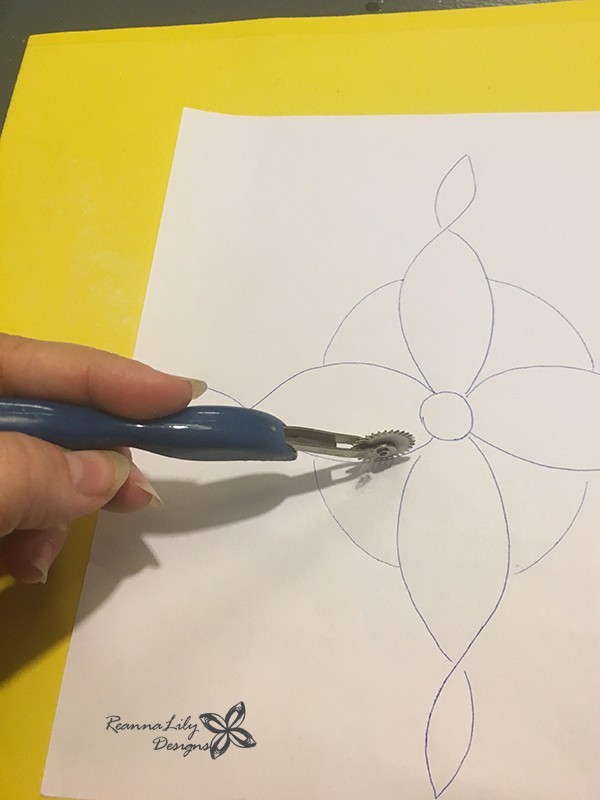
Remember, if you go over a line or run too far past an intersection, at the end of the project you’ll be the only one who ever knew that happened. These lines are meant to be temporary.
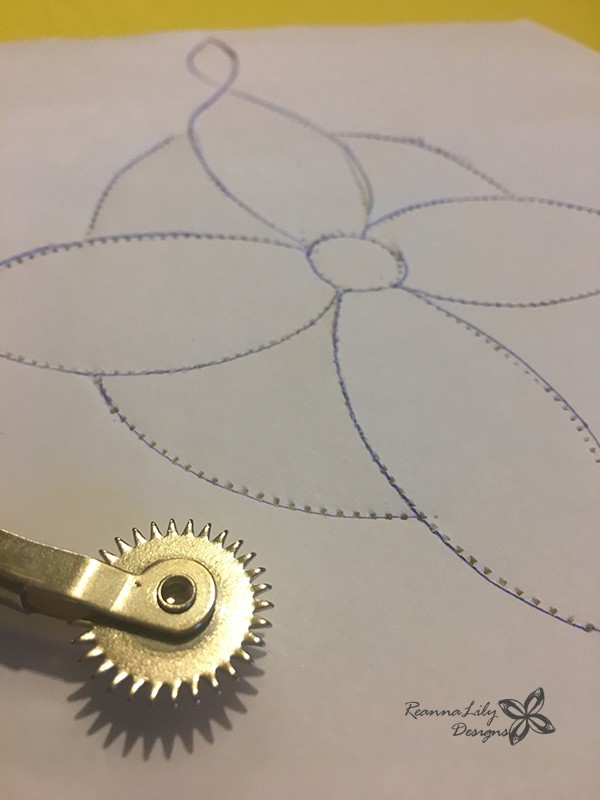
The relatively quick process does chew up the foam a bit, but the foam is quite inexpensive and is the perfect tool for this method.
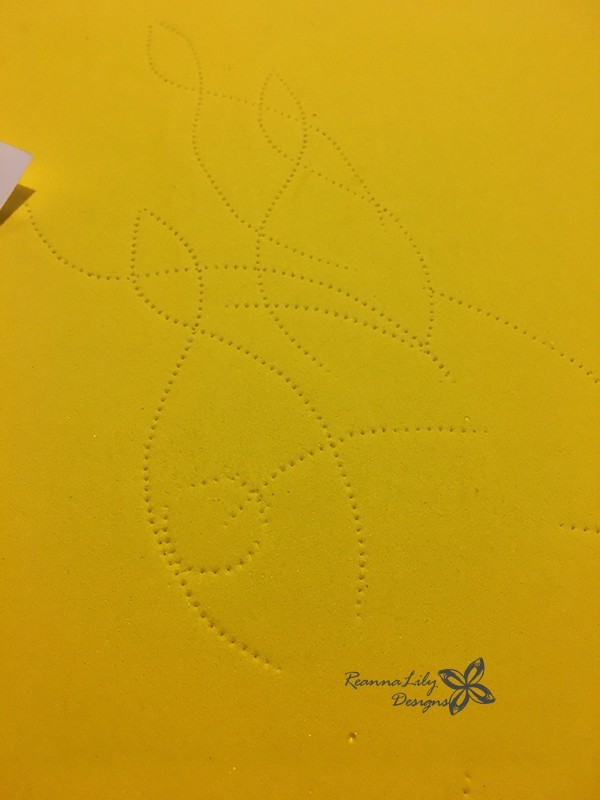
Transfer the Stencil
Now, just like if you had sewn through the paper, flip the punctured design over to use it.
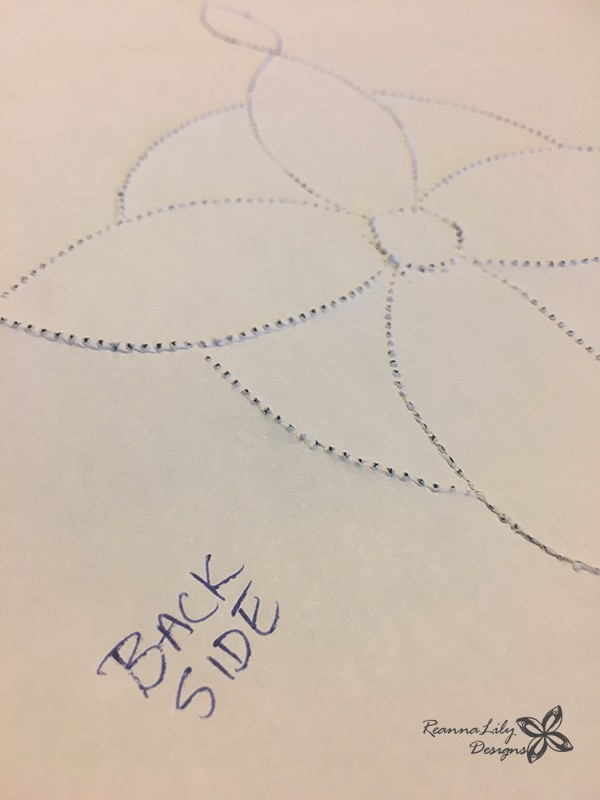
Position the stencil on top of your fabric. I’m still working on the foam, but at this point, you do not have to. Any work surface will be good.
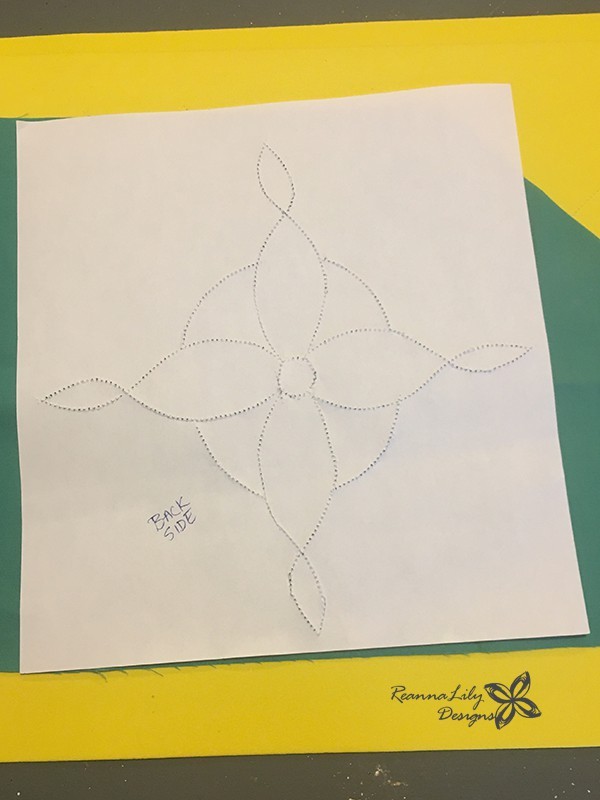
NOTE: If you have really gone wild with the tracing wheel and made a few extra marks in erroneous places, simply use scotch tape to cover the wholes.
Pour a small amount of chalk into the pounce brick. Shake the Pouce Pad to load the chalk into soft surface.
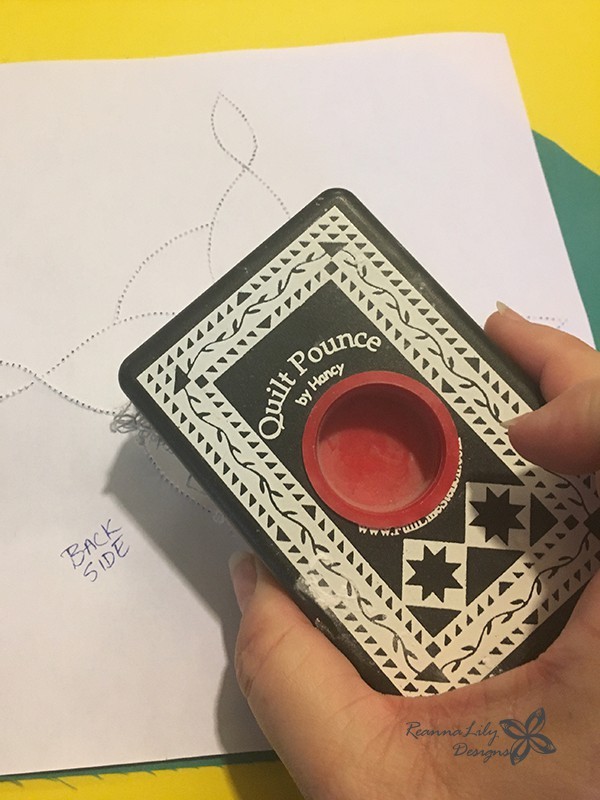
Rub the pad from right to left over the nubby backside of the stencil. I peeled back my stencil every so often to make sure I was achieving complete coverage.
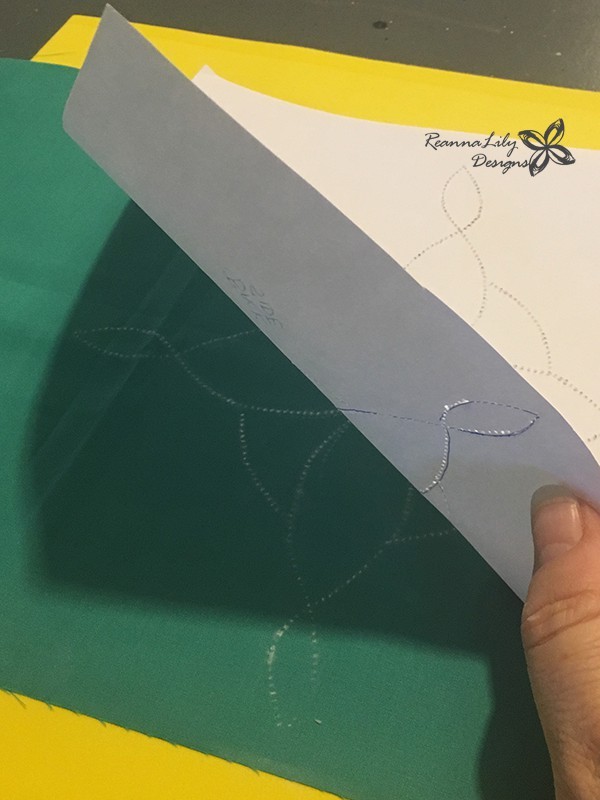
That’s it. That is really all there is to it.
Remove the stencil.
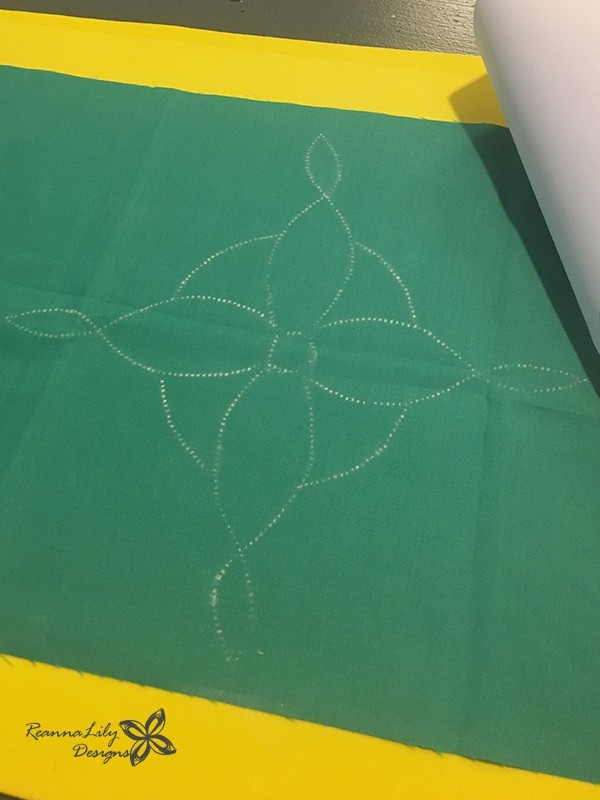
Although this was a test run, I cannot wait to make another larger Free-Motion Framework quilt using this incredibly easy stencil-marking technique.
Give it a try and tag #quiltyquill if you share it online.
*This post may contain affiliate links.
See more items from the Quilty Quill here:
Web: https://www.quiltyquill.com
YouTube: https://www.youtube.com/@QuiltyQuill
Instagram: https://www.instagram.com/quiltyquill/
Facebook: https://www.facebook.com/QuiltyQuill
Categories: : Tutorial
I have read and agree to the terms & conditions.