Giant Trip Around the World Quilt Tutorial
 Jen Eskridge
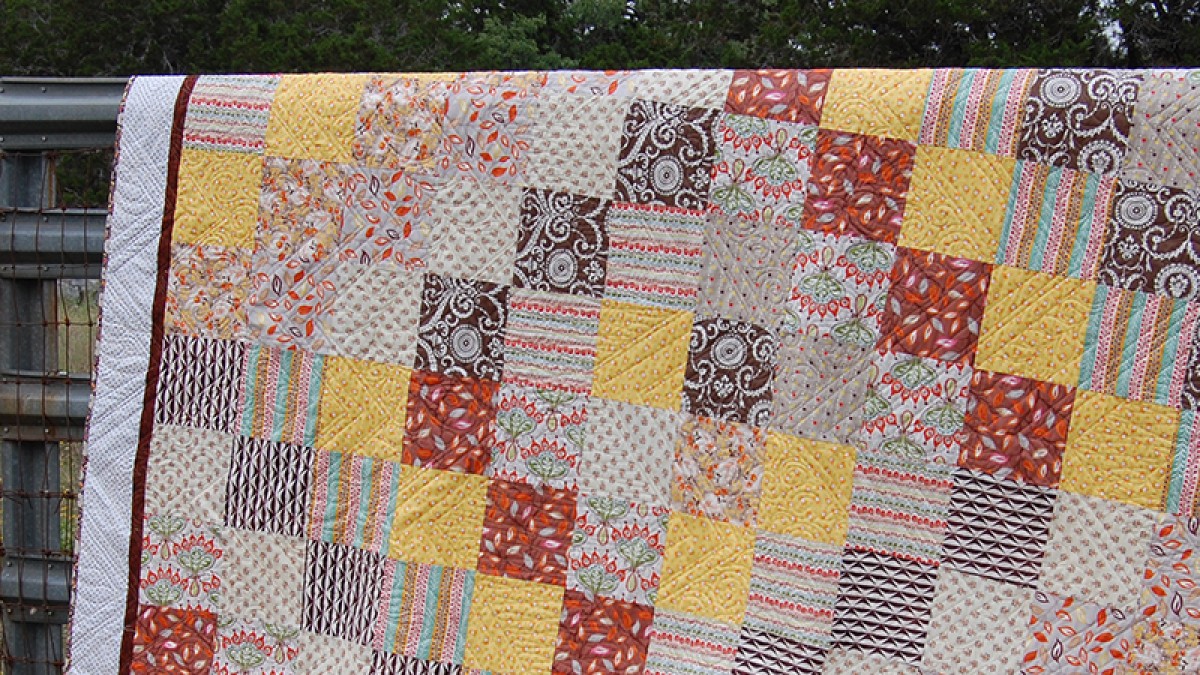
Use six fabrics to create this HUGE quilt in four quadrants using an easier-than-it-looks Bargello piecing method. Learn how today!
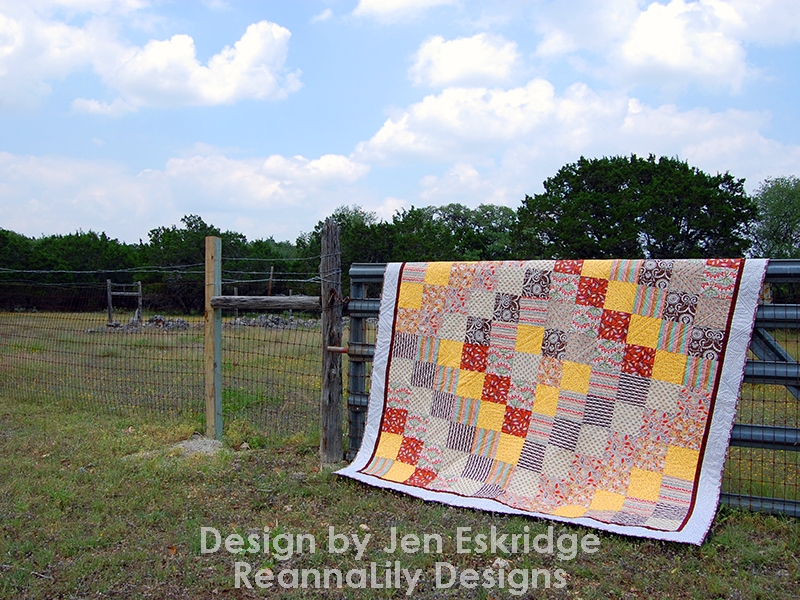
Giant Trip Around the World Pattern
I have a fun easy pattern for you! It is a giant Trip Around the World quilt pattern. Not a jaunt across town; think of it as a big trip. Think of more like Jackie Chan’s Around The World in 80 Days, or maybe a leisurely boat ride with Magellan.
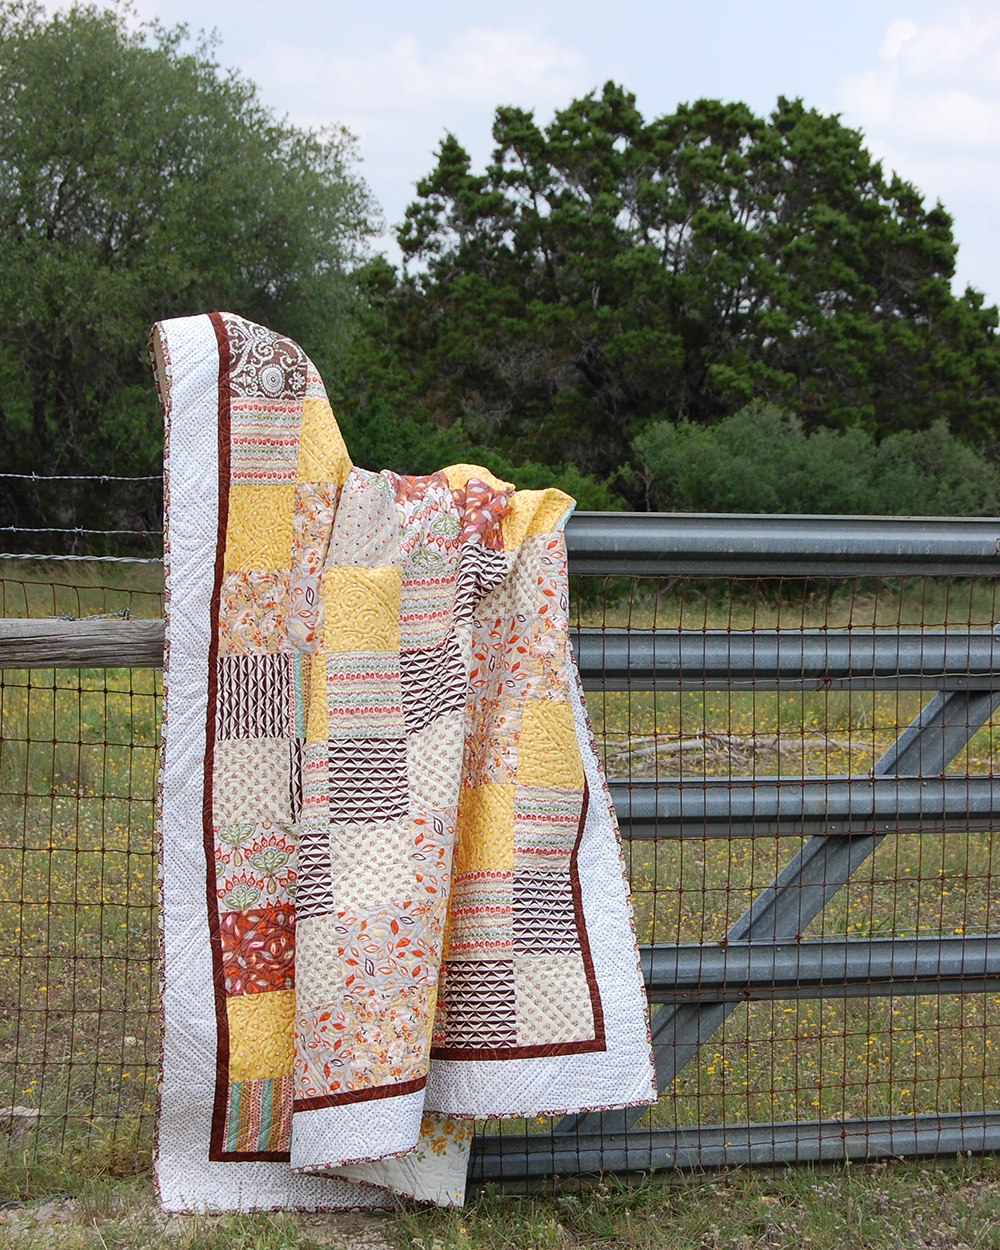
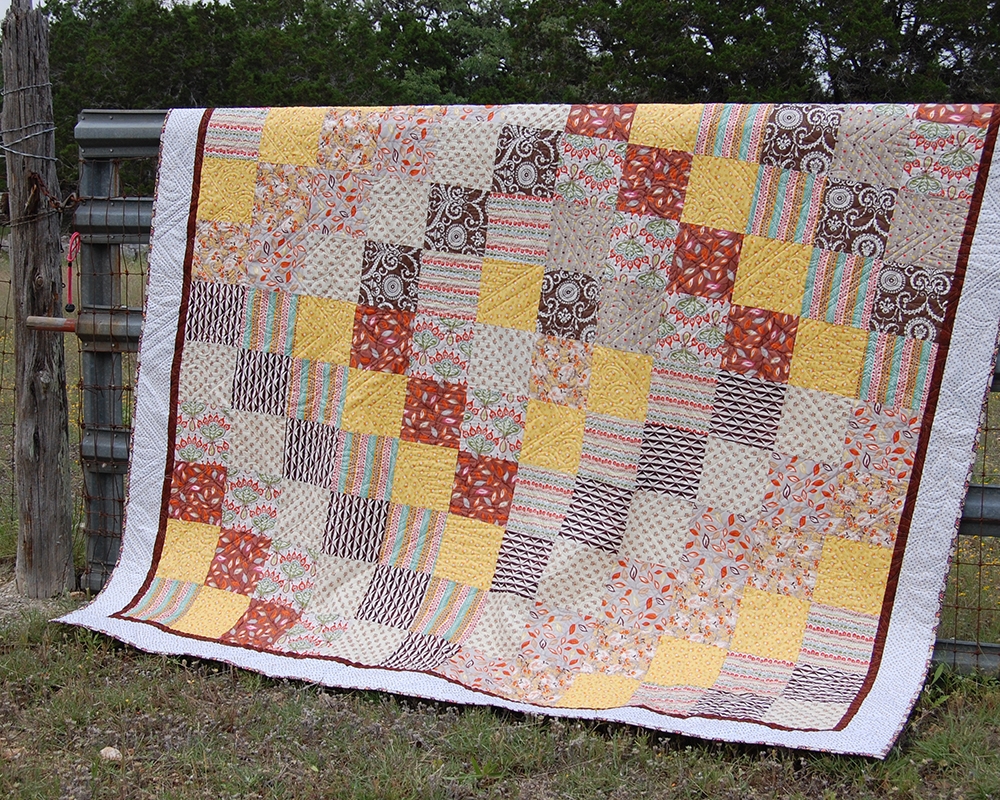
The blocks are big; the quilt is big and the best part- You can stitch it quickly while using up your less-than-one-yard fabric pieces. The quilt finishes at approximately 88″ x 88″. This quilt is a fast quilt and a perfect gift. I recommend the pattern to anyone wanting to try the Trip Around The World style but doesn't want to commit to a ton of seam ripping. This quilt creates four block/quadrants and requires not advanced skills to piece together.
Using Adobe Illustrator, I created digital mockups for the step-by-step instructions as they are easier to see and I don't have to worry about photo/lighting. This pattern is from the ReannaLily Designs Archive ~2017.
Supplies
- 30" of six different coordinated fabrics
- 1/3y fabric for inner border
- 1-1/4y fabric for outer border
- 2/3y fabric for binding
- Additional fabric for backing
Construction Process
Normally, in a quilt pattern, this next section is called "cutting." But for this pattern we'll be cutting our fabrics a couple times throughout the process, so let's jump in.
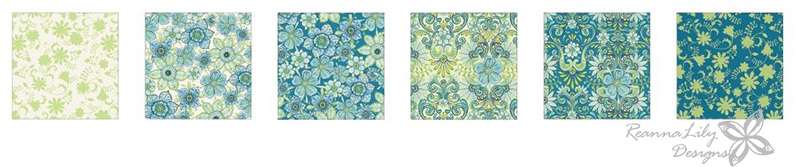
- From each fabric, cut four 7" x width of fabric strips.
- Sort into four piles of six fabrics each.
- Using a 1/4" seam allowance (or serger,) sew strips into LARGE strip sets, keeping the same order for each set.
NOTE: Not all fabric widths will be the same for each strip. That is ok. Try to consistently match one end on all six pieces. This will maximize usable space and reduce waste.
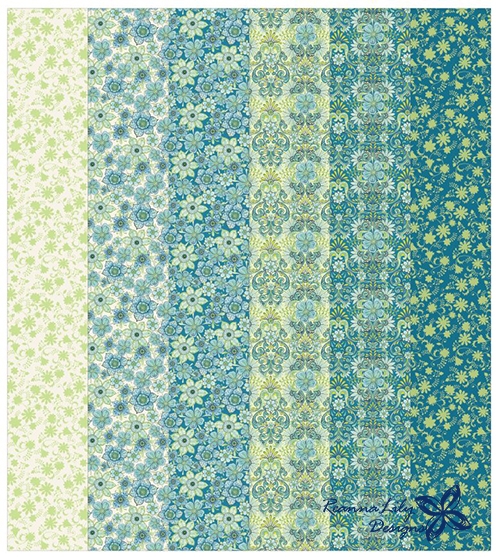
- Fold the strip set in half using the center seam as the fold.
- Matching the long edges, right sides together, sew strip sets into tubes.
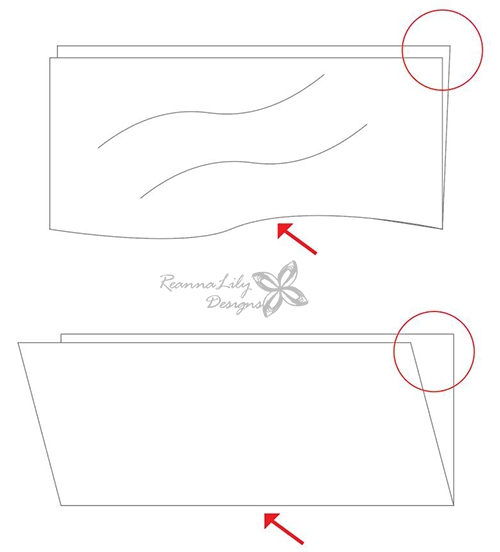
CAUTION: When you fold your strip set in half, if you match the corners of the fabric (shown in the first image below) it may cause your strip set to have a wave. This is bad. It is skewing the grain of the overall piece of fabric. It is MUCH better to offset the fabric corners to a smooth perfect fold along the lower edge.
- From each of the four tubes, cut SIX strips measuring 7" wide.
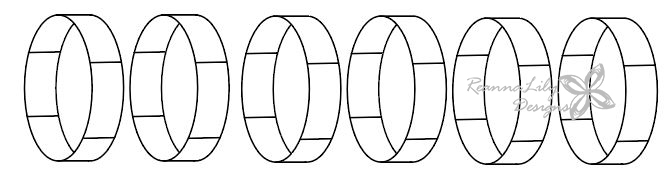
- Unpick or rip out a seam from each tube. Remove a seam between different pairs of fabric for each of the six tubes.
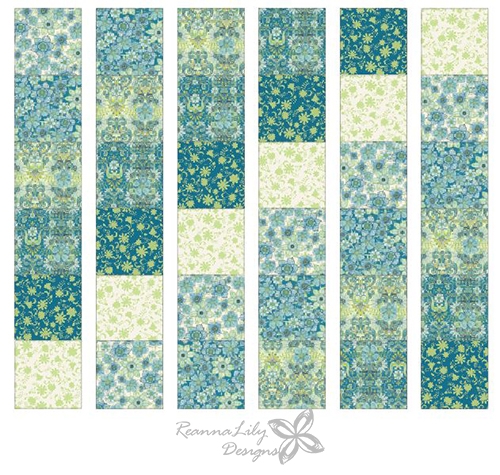
- In the image above, the fabrics are arranged to showcase a light center diagonal fabric. At this point, you can arrange the fabrics in any pleasing order. Move them around a bit and see what appeals to you.
- Once decided, using a 1/4" seam allowance, join the strip sets to create four large blocks.
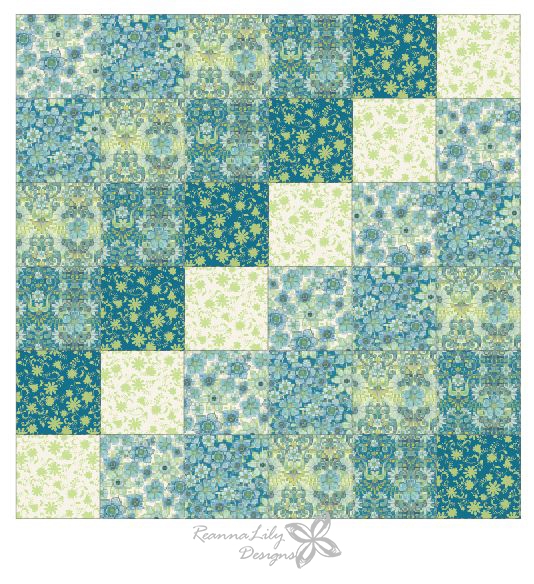
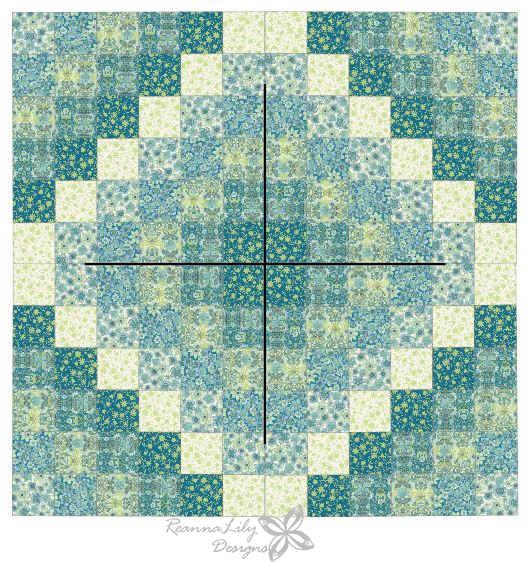
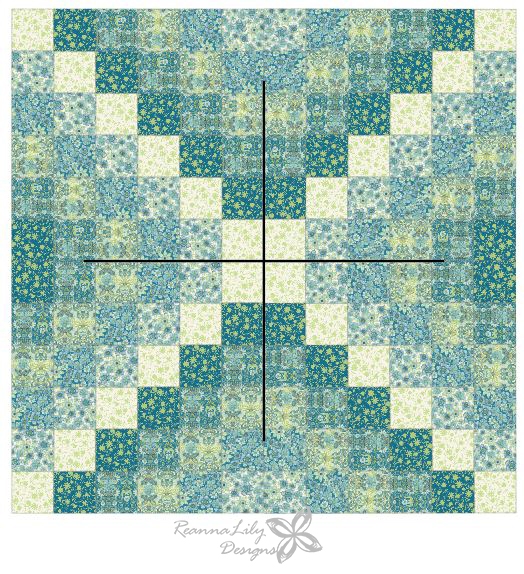
- Arrange four LARGE blocks to create quilt top. Here are a few options
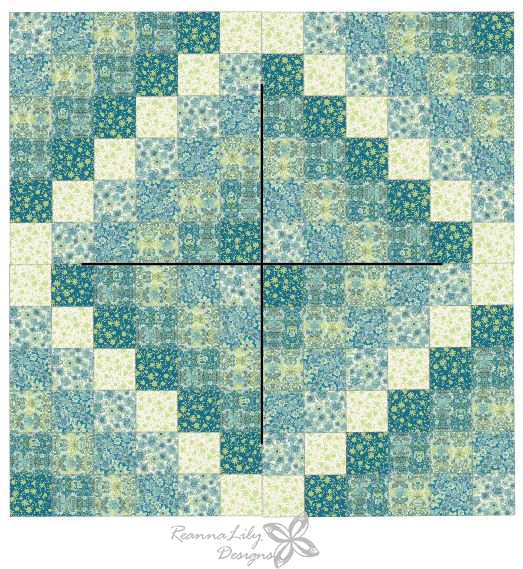
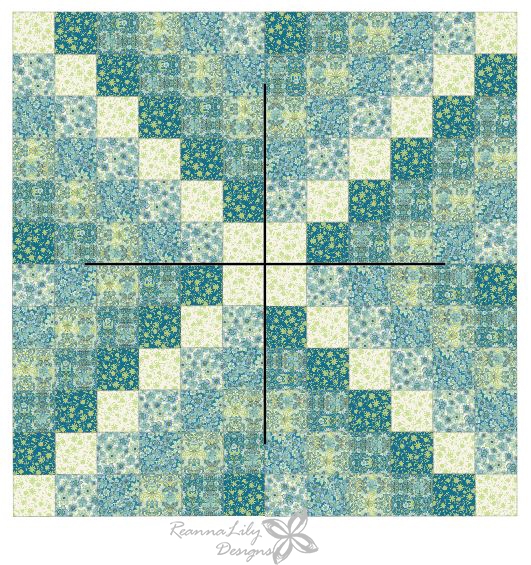
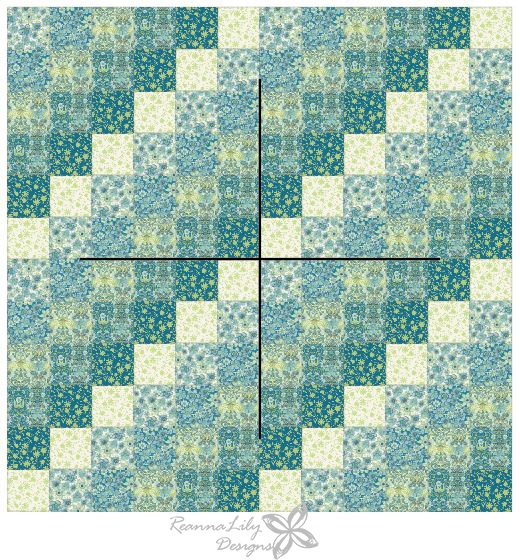
- From the inner border fabric, cut 9 strips from the border fabric measuring 1-1/2" x width of fabric.
- Sew the border strips into pairs, joining the short ends.
- Create a total of 4 pair.
- The additional border strip will be cut and added to each pair as needed.
- Start by adding the first pair of border strips to the right and left sides.
- Add the top and bottom last. The top and bottom will most likely require more length from the remaining border strip.
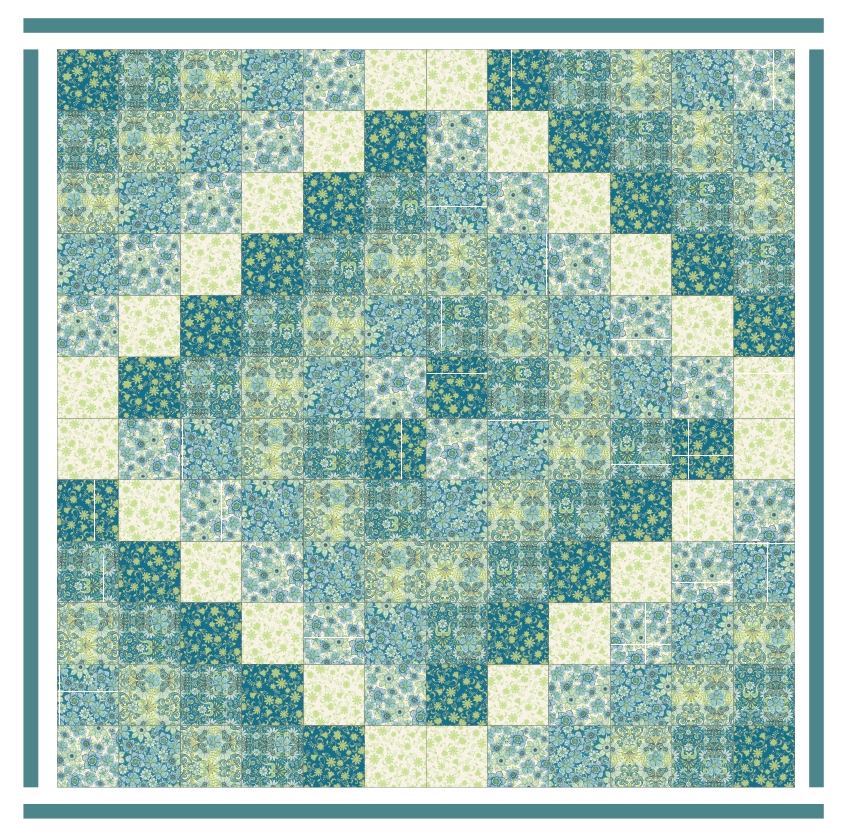
- From the outer border fabric, cut 9 strips from the border fabric measuring 4" x width of fabric.
- Sew the border strips into pairs, joining the short ends.
- Create a total of 4 pair.
- The additional border strip will be cut and added to each pair as needed.
- Start by adding the first pair of border strips to the right and left sides.
- Add the top and bottom last. The top and bottom will most likely require more length from the remaining border strip.
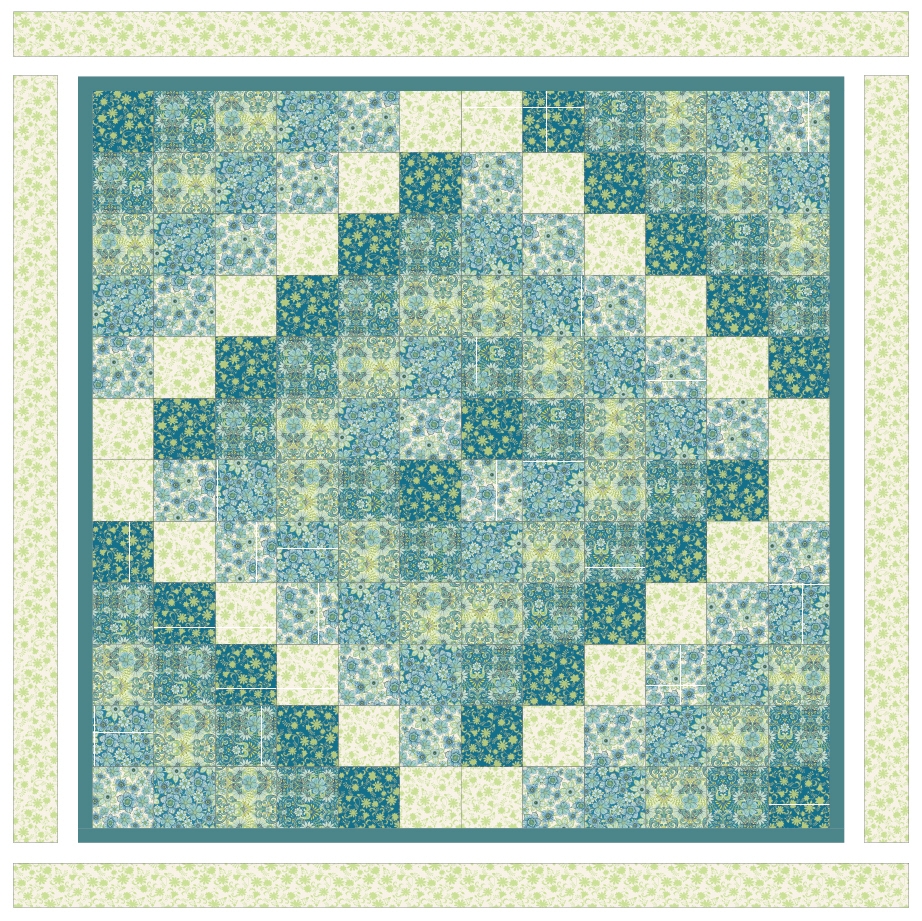
Once the borders are on, it is up to you to quilt and bind it in your favorite method.
Give it a try and tag #quiltyquill if you share it online.
*This post may contain affiliate links.
See more items from the Quilty Quill here:
Web: https://www.quiltyquill.com
YouTube: https://www.youtube.com/@QuiltyQuill
Instagram: https://www.instagram.com/quiltyquill/
Facebook: https://www.facebook.com/QuiltyQuill
Categories: : Tutorial
I have read and agree to the terms & conditions.