Giant Quilted Beach Bag
 Jen Eskridge
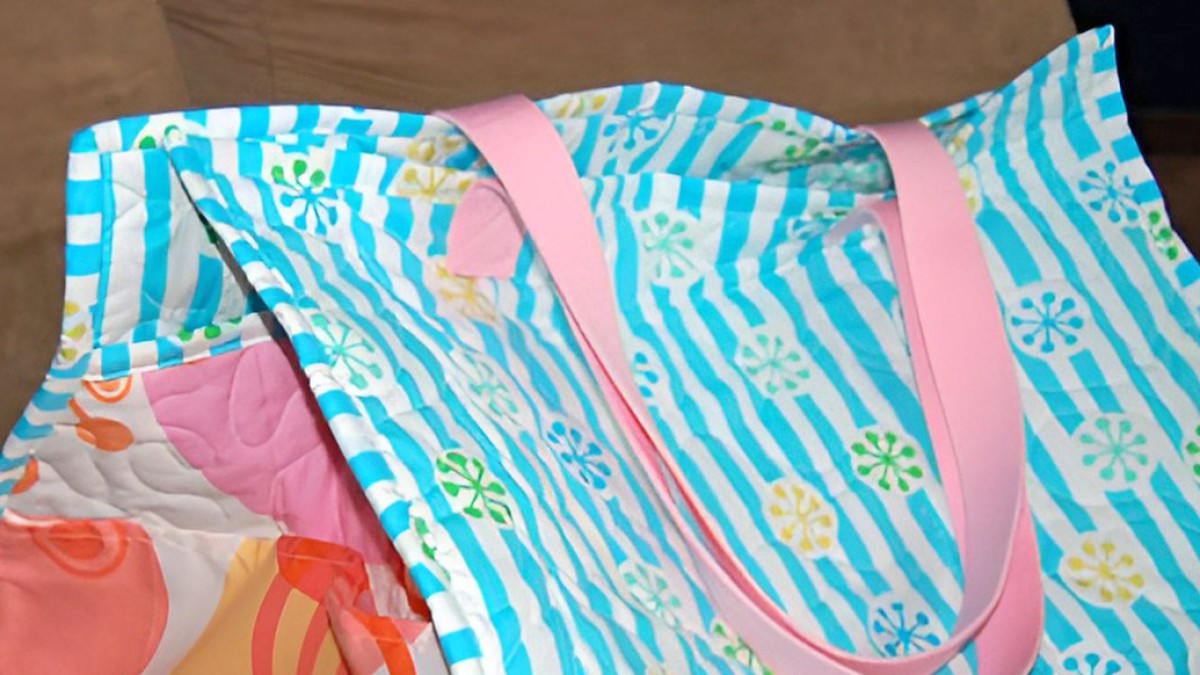
This sewing tutorial features quilted fabric and is perfect for beach days or any days where a ridiculously large tote bag is warranted. Grab the pdf.
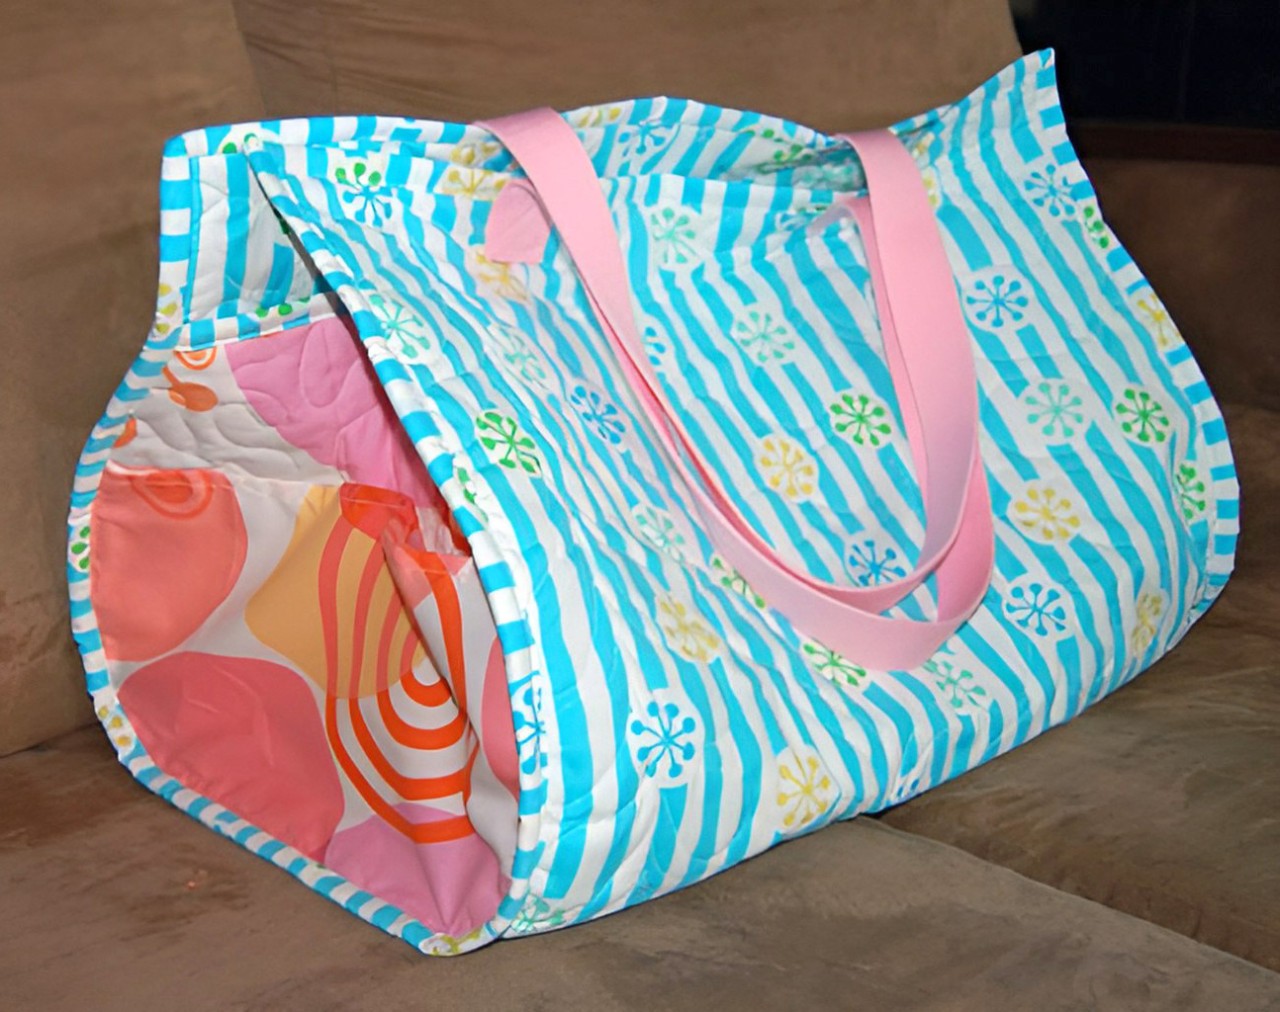
Beach Bag
by Jen Eskridge
Quilty Quill #2035
Materials:
- 1 1/3 yard main fabric (bag body and binding) 7/8 yard fabric (side panel + pockets)
- 1 crib size pre-packed batting
- 1 1/2 yard cotton webbing (handles)
NOTE: Make this bag even quicker by purchasing the following instead of the suggested materials:
- 1 1/4 yard pre-quilted fabrics (bag body and sides) 1/2 yard traditional cotton (pockets and binding)
- 1 1/2 yard cotton webbing
Cut Pieces:
Side Template:
- Cut 4 Traditional Fabric *OR Cut 2 from pre-quilted fabric Cut 2 Pockets (at the dashed pocket line)
- Cut 2 Batting *omit IF using pre-quilted fabrics
Bag Body:
- Rotary Cut 2 fabric rectangles 38” x 20”
- Rotary Cut 1 batting rectangle 38” x 20”
*OR cut one rectangle of the same size from pre-quilted fabric
Binding:
- Cut 2 strips 2 1/4” x 10” to bind the side panels
- Cut 3 strips 2 1/2” x Width of Fabric to bind the entire bag
Handles:
- Cut cotton webbing into two equal 27” long pieces.
Construction:
Step 1. Make the quilted panels
* Skip this step if you’ve purchased pre-quilted fabrics
Layer the following in this order:
- Side panel right side down
- Side panel batting
- Side panel right side up
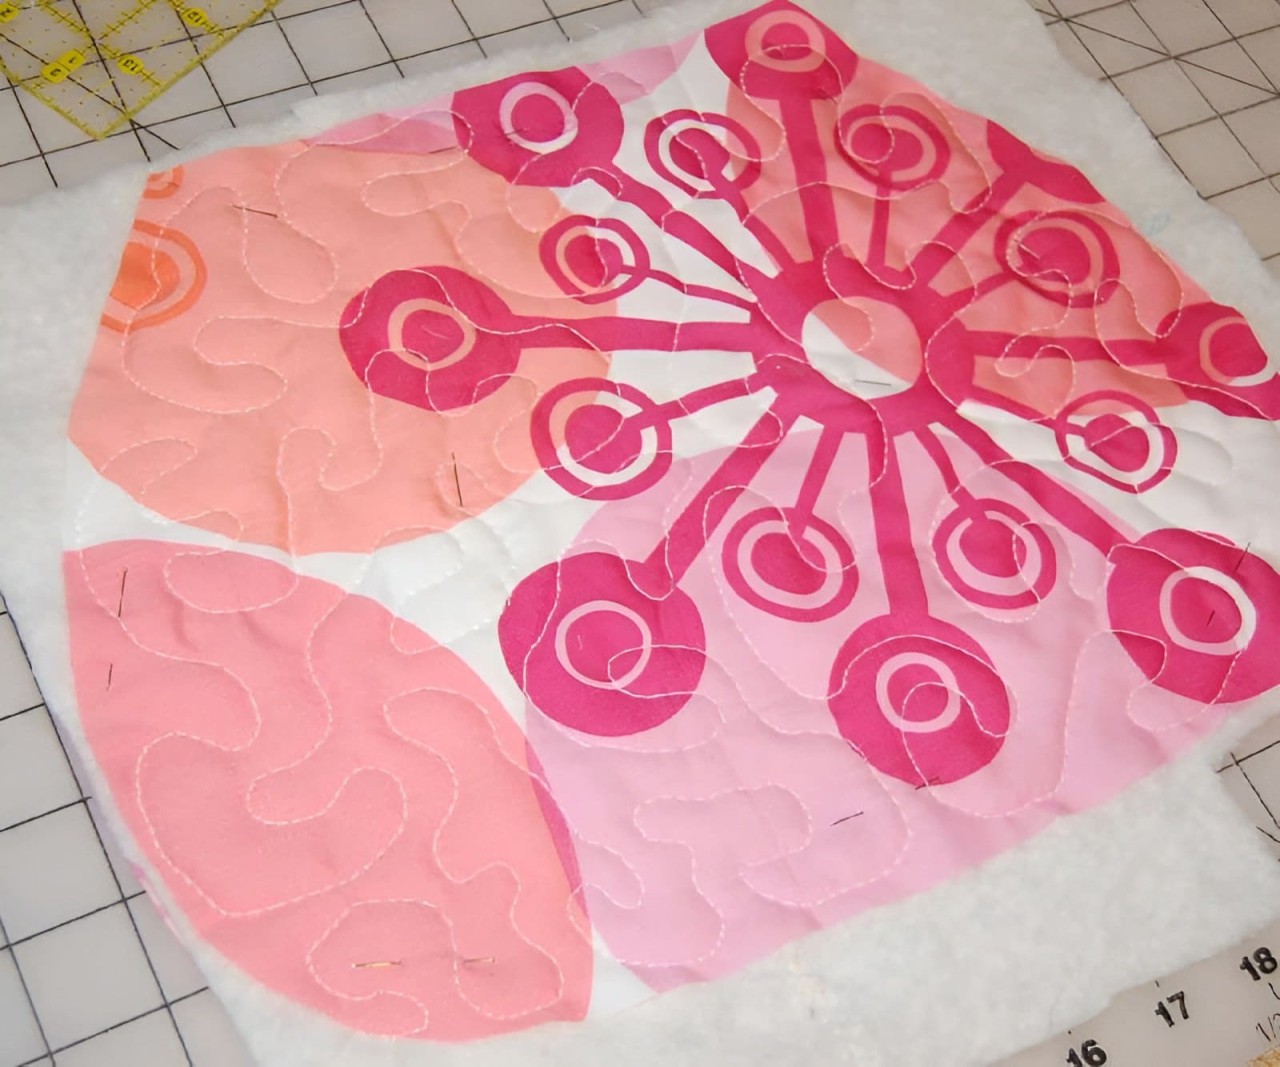
Pin the layers together and quilt though the three layers. Repeat these steps with the remaining side panel.
Layer the following in this order:
- Bag body rectangle right side down
- Bag body rectangle batting
- Bag body rectangle right side up
Pin and repeat the same quilting steps used in making the side panels.
Step 2. Pockets
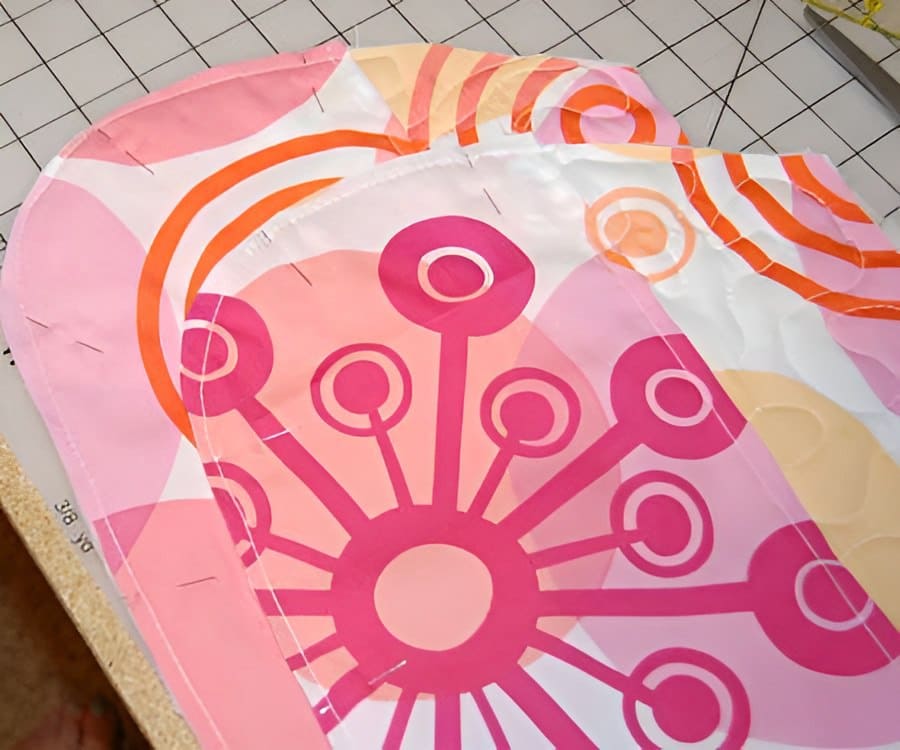
Fold the top edge of the shorter side panel pieces twice to the wrong side, 1/4”. Stitch along the fold to create a tidy hem for this side pocket. Lay the pocket on the quilted side panel and stitch it in place around the entire lower edge.
Step 3. Bind Pocket Tops
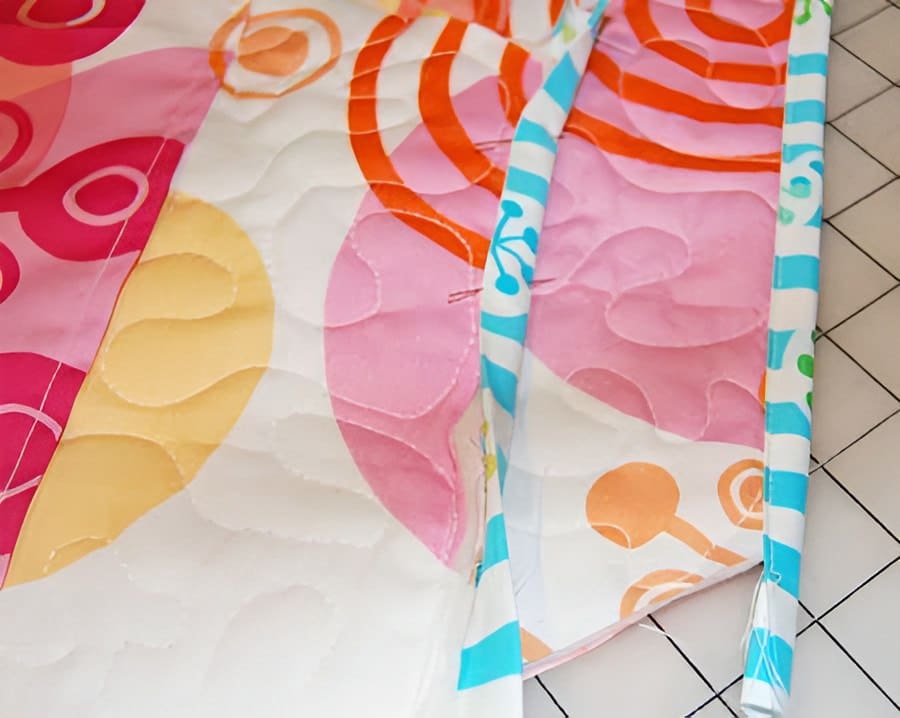
Fold the narrower, shorter binding strips in half length-wise and press. Apply a traditional quilt binding by machine to the top edge of each quilted pocket.
Updated to add (2026): You may want to add a closure at the top of the side pockets as they tend to gap open after years of use.
Step 4. Apply Sides to Body
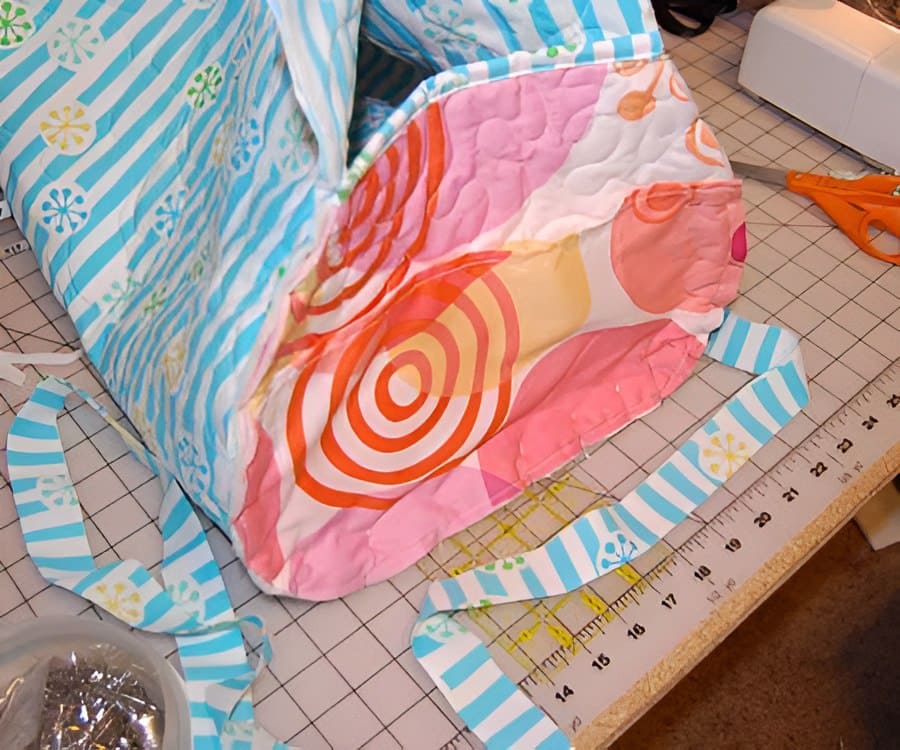
Fold each pocket side panel in half to find the vertical center. Mark the center with a pin at the lower edge. Find the center of each 38” side of the larger rectangle piece and mark with a pin.
Measure from each corner 3” into the 38” side. Mark this with a pin. This will be where the top of the side panel meets the main bag pieces. It is also the extra height on the front and back of the bag.
Pin each side panel to each bag body center. Ease the bag body around the side panel curve, making sure each side panel top is 3” from the corner.
Note: You may choose to have the pocket face to the interior or exterior of the bag. This design element is entirely up to you.
Step 5. Bind the Entire Bag
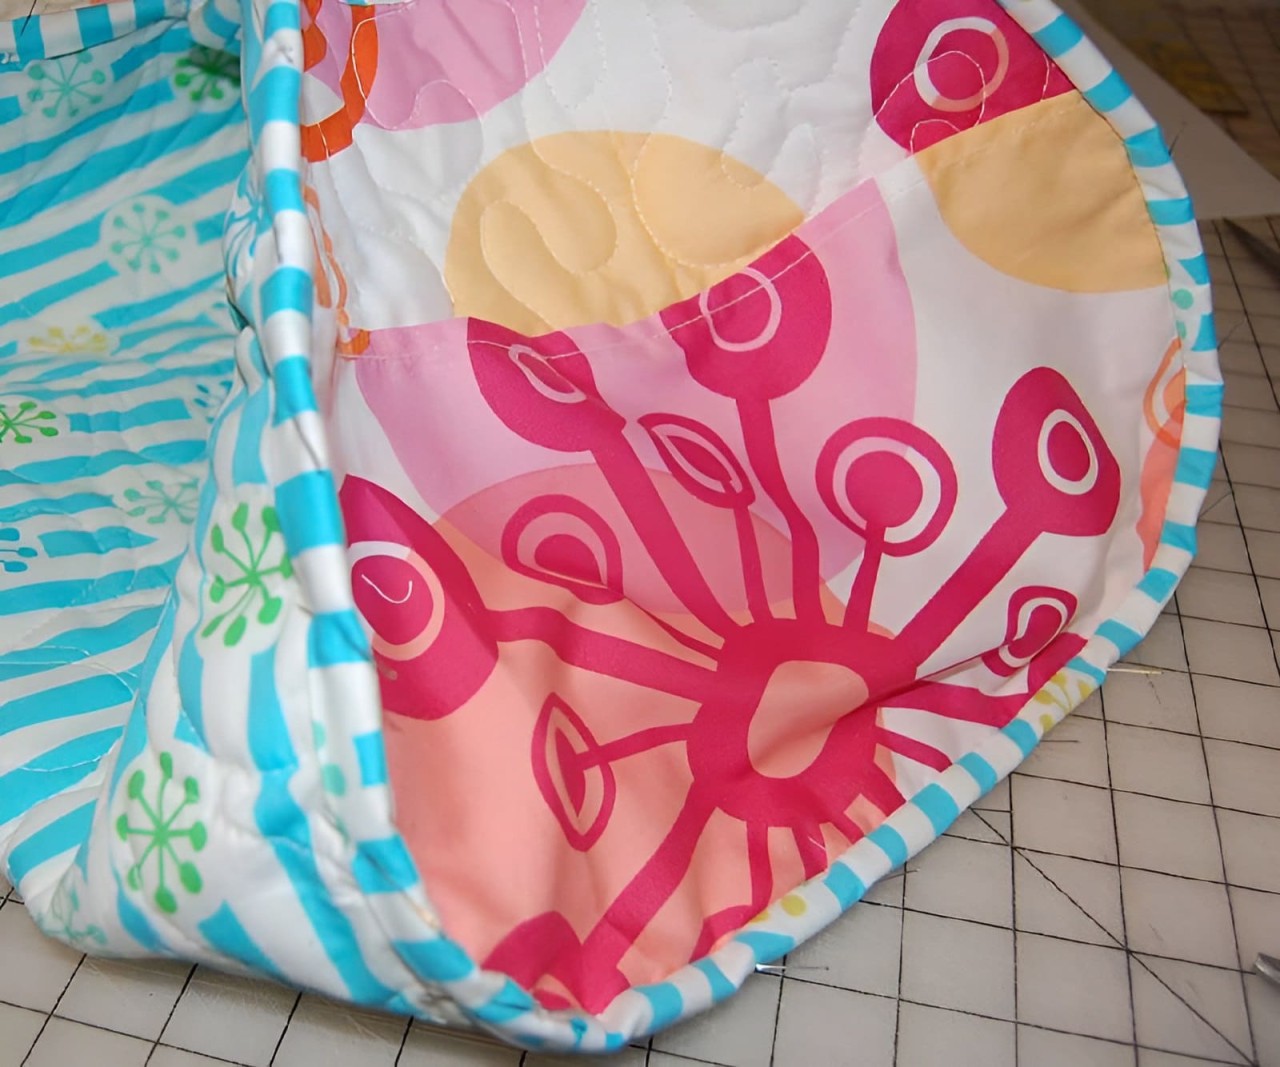
Join the short ends of the remaining 3 binding strips. Fold this in half along the length and press. Use traditional continuous binding methods to apply the binding to the entire perimeter of the bag.
Tips: Start the binding along the INSIDE top edge of the bag. Stitch carefully and ease the binding fabric around the side panel curved areas. Miter the corners, just like binding a regular quilt.
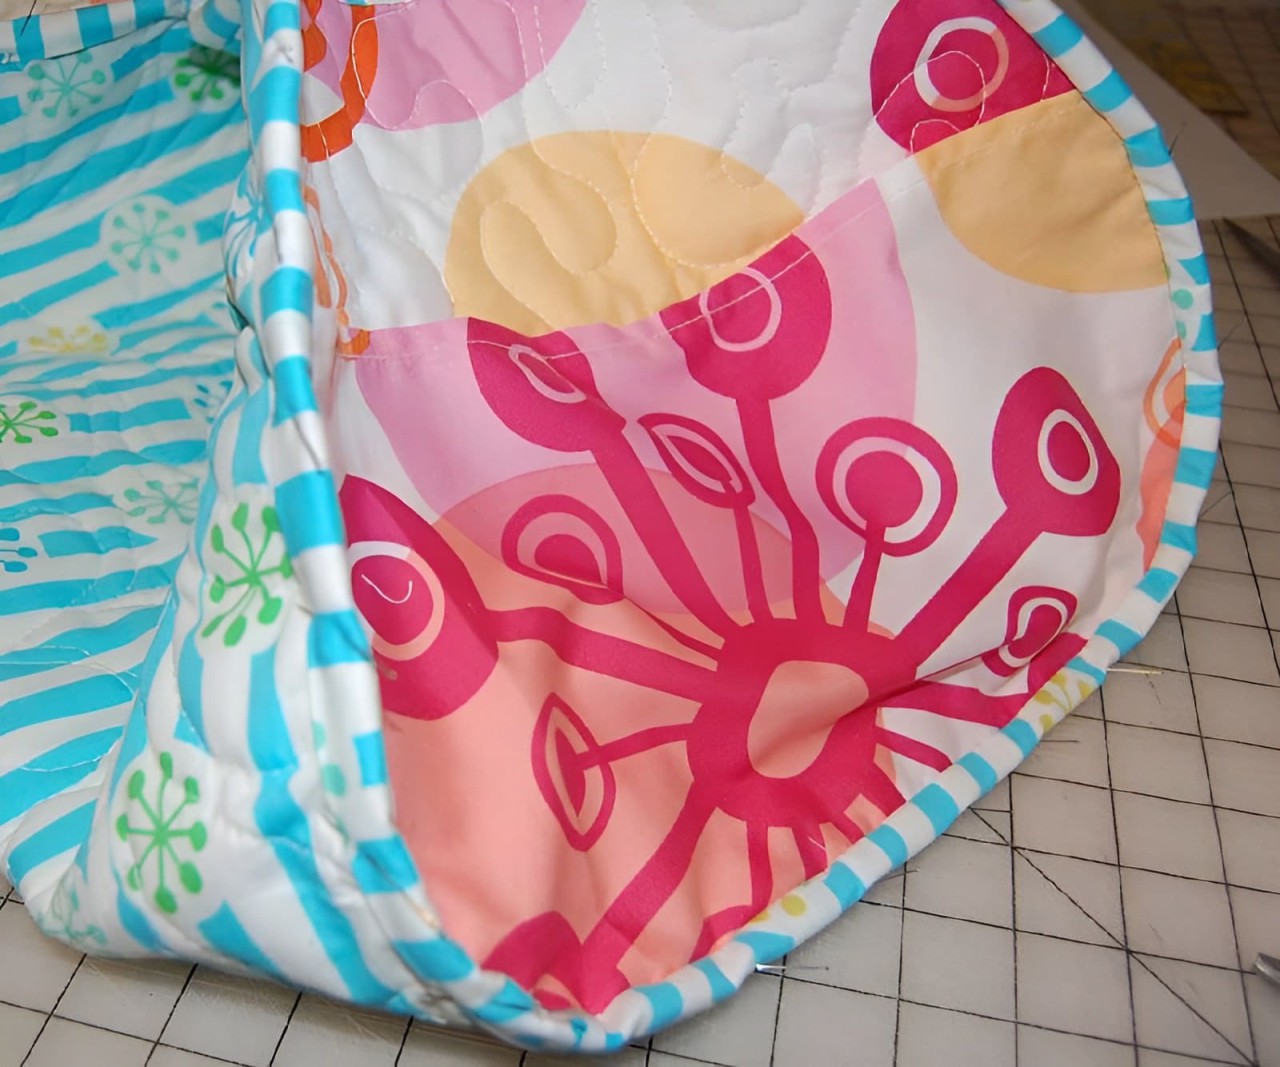
Once the binding is applied, carefully fold it around the cut edges of the bag. Pin heavily and meticulously to ensure the binding doesn’t slip as it is stitched in place by sewing machine. Be patient. From the front, right-side of the bag, edge-stitch the binding in place.
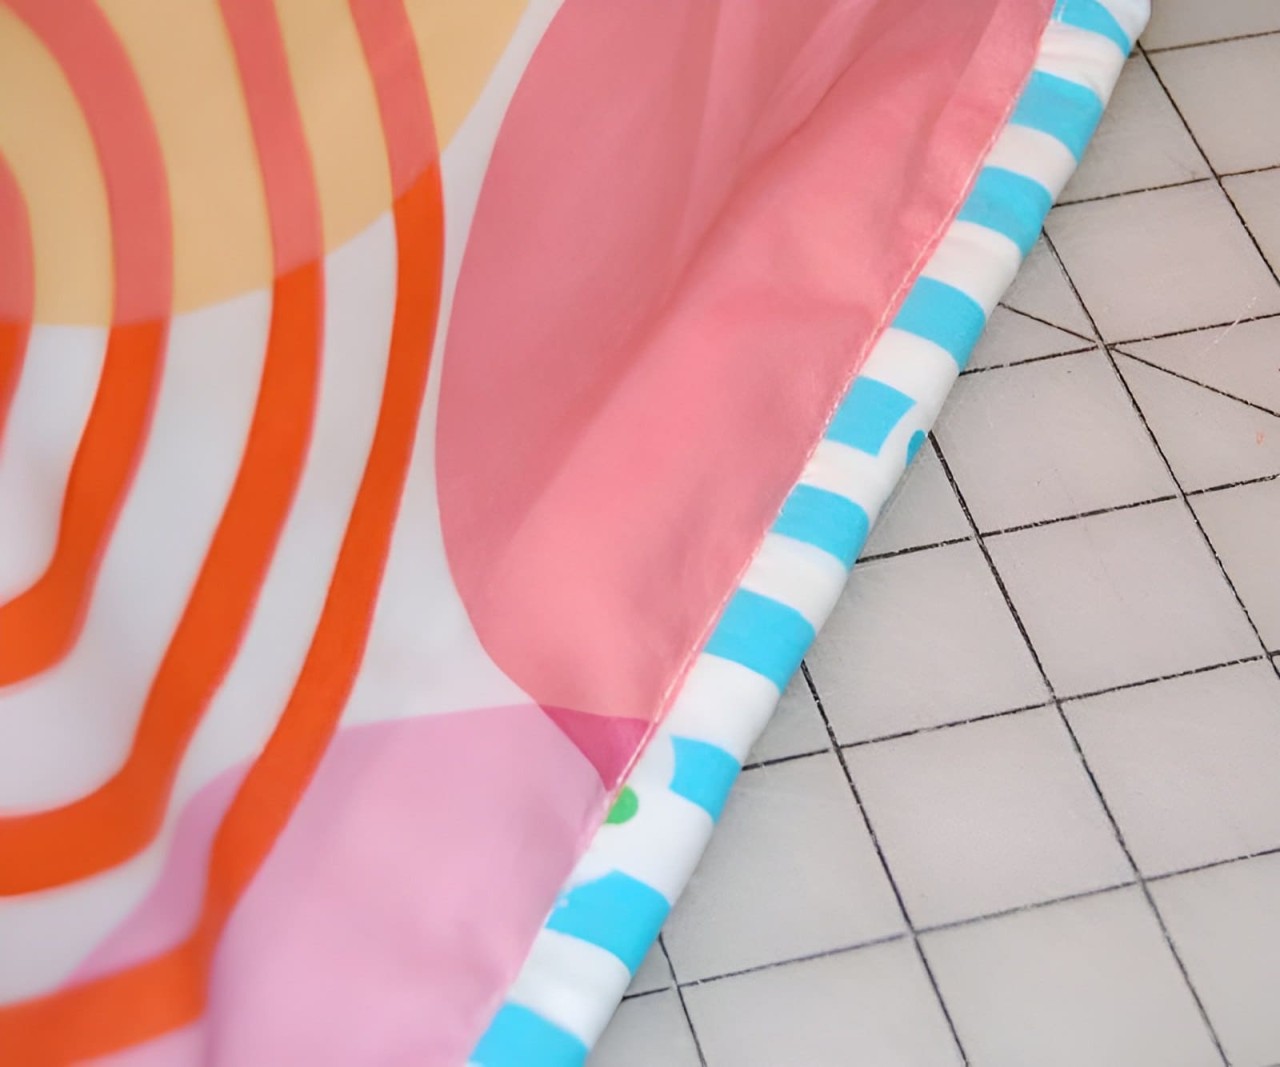
Step 6. Handles
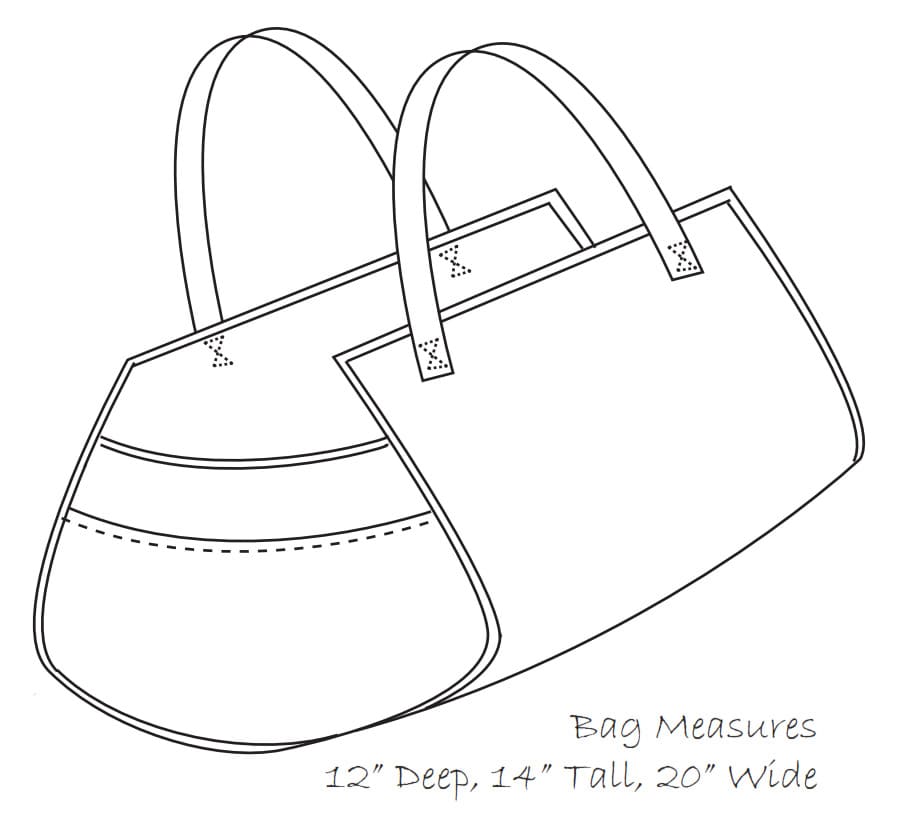
Place the cut edge of the handle 1 1/2” down from the top and 5” in from the bound edge.
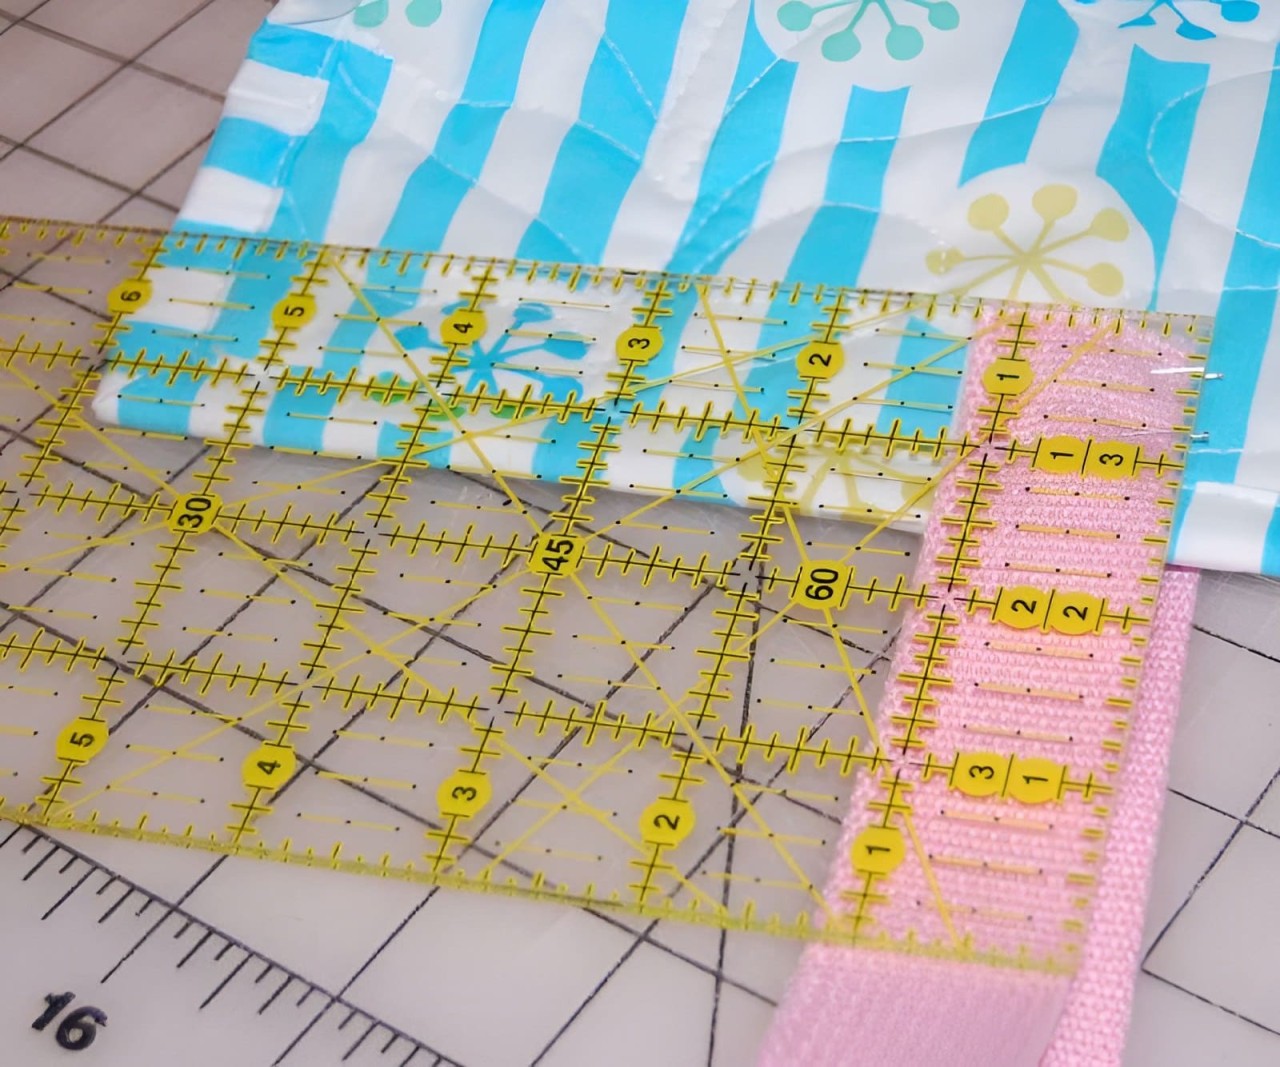
Stitch a LARGE X shape over the cut edge of each handle end. This bag is HUGE and will need the extra stitching to support the weight this bag can hold. Stitch over the X numerous times, including back-stitching to keep it secure. Repeat for all 4 handle ends.
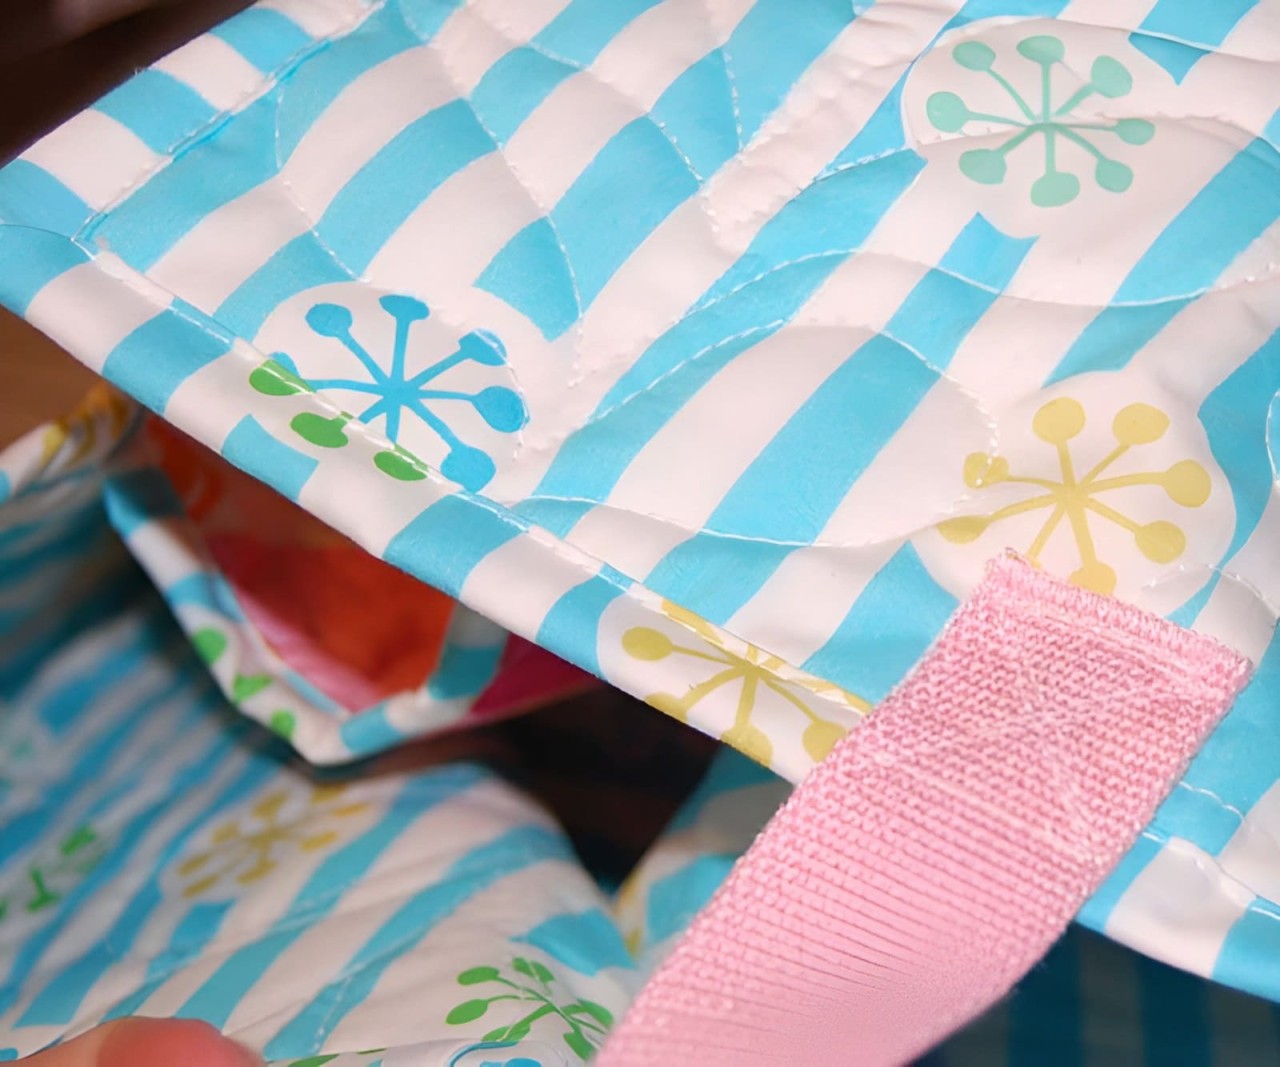
Congratulations!
Your new Gia’Normous Beach Bag is Finished!
Bag Measures 12" deep x 14" tall x 20" wide
Categories: : Tutorial
I have read and agree to the terms & conditions.