Floating Squares Stroller Blanket Quilt Tutorial
 Jen Eskridge
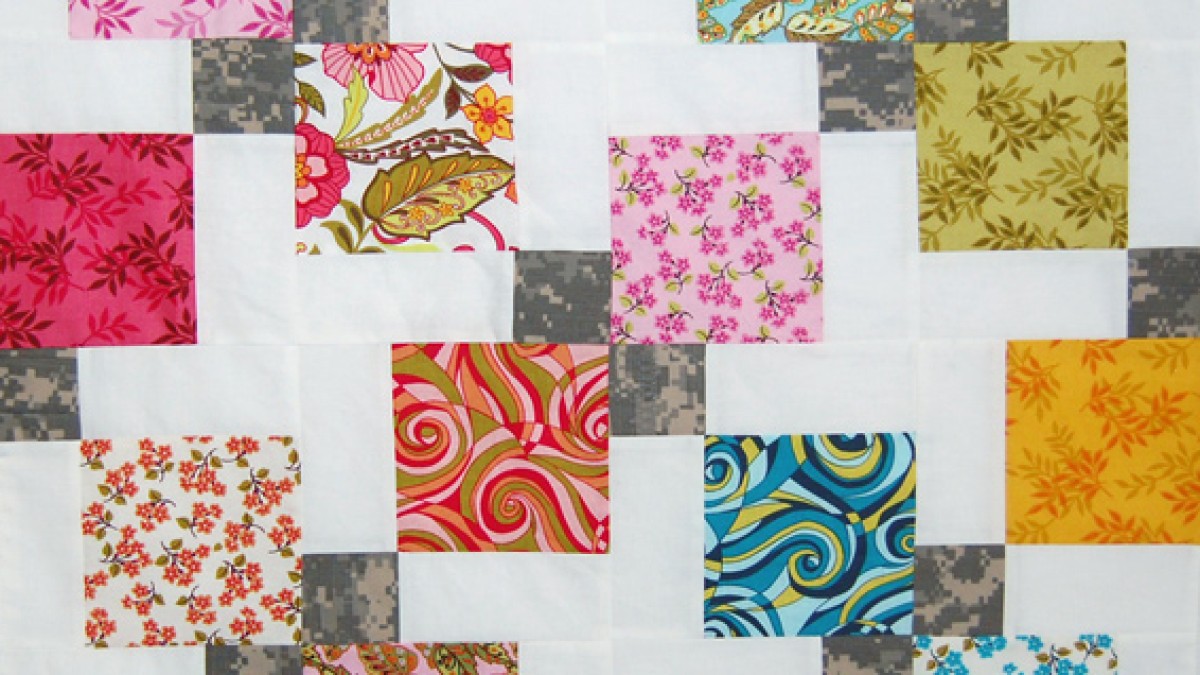
This project is a quick baby gift and is so incredibly practical. The top of the blanket is based on the Disappearing 9-Patch quilt pattern.
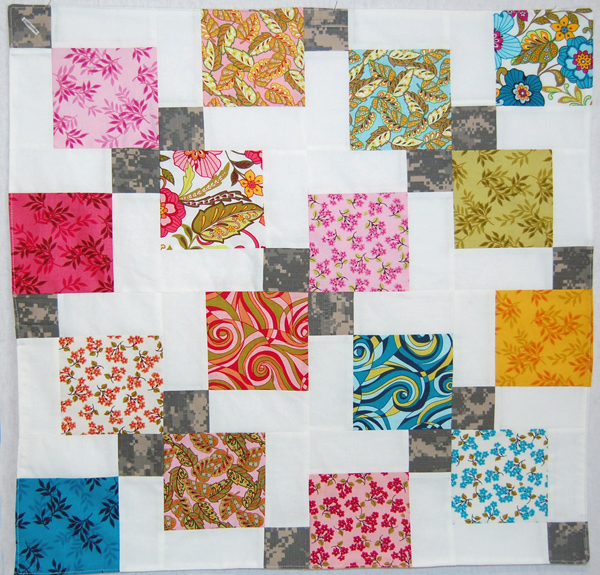
Floating Squares Stroller Blanket Tutorial
This project is a quick quick quick baby gift and is so incredibly practical. The top of the blanket is based on the open-source Disappearing 9-Patch pattern. The blanket is NOT quilted, but rather backed with flannel or other soft fabric such as minky. And lastly, the blanket is small enough to fit neatly in the stroller or car seat and features an additional buttonhole, or grommet, to link/tie the blanket to the carrier.
Finished Size: 26" x 26"
Supplies
- 1 Charm Pack (pick 16 of your favorite squares)
- 16 white squares cut 5” x 5”
- 4 focus fabric squares cut 5” x 5” (digital camouflage/military uniforms used here)
- 28” x 28” flannel (or other soft fabric)
- 1 grommet 1” diameter, optional
Construction
**Sew with right sides together and use a 1/4” seam allowance unless otherwise noted.
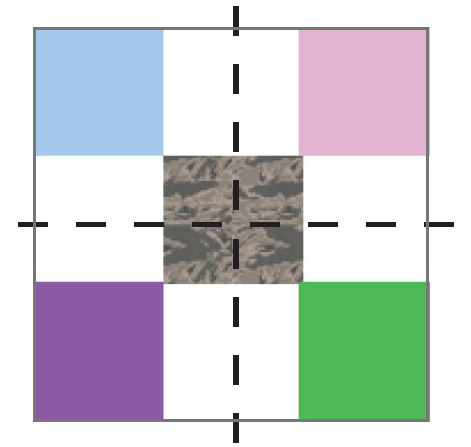
- Start by building 4 blocks with 9 quilt squares each. The focus squares should be in the center of each 9-patch. This would be the Alice spot, should you be a Brady Bunch fan.
- Press the seam allowances towards the darker fabrics.
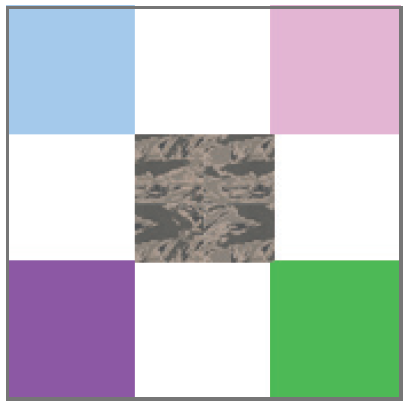
- Slice each 9-patch unit down the center in both directions to yield 4 different little blocks. This will create a total of 16 "little" blocks."
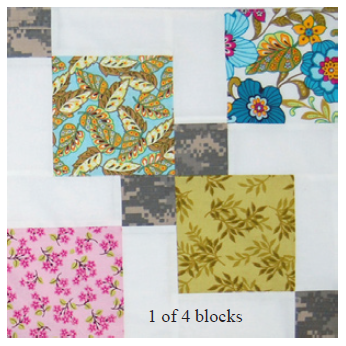
- Arrange these 1/4th blocks in any fashion you like. Simply rotate to make a pleasing pattern, and stitch the 1/4” blocks back together to make 4 larger blocks.
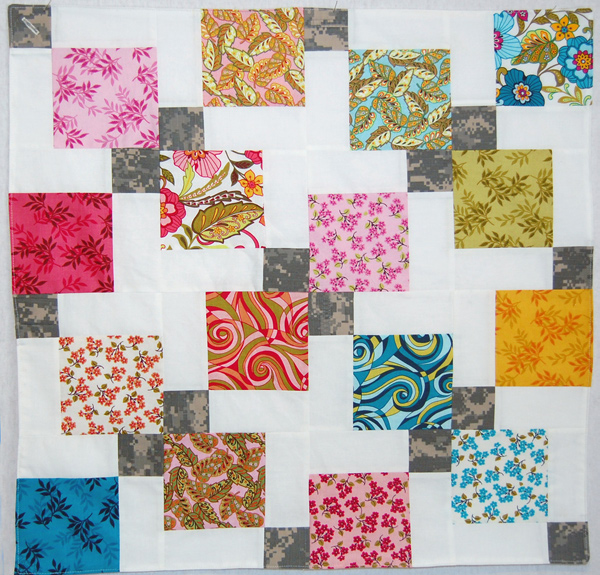
- Join the 4 large blocks together to form the top.
Finishing
Since this project is not quilted, the finishing steps vary quite a bit from a traditional quilt on the Quilty Quill blog. Here's how this one comes together:
- Press and starch the seams of the small quilt top.
- Lay the top onto the soft background fabric, matching right sides. Pin around the perimeter.
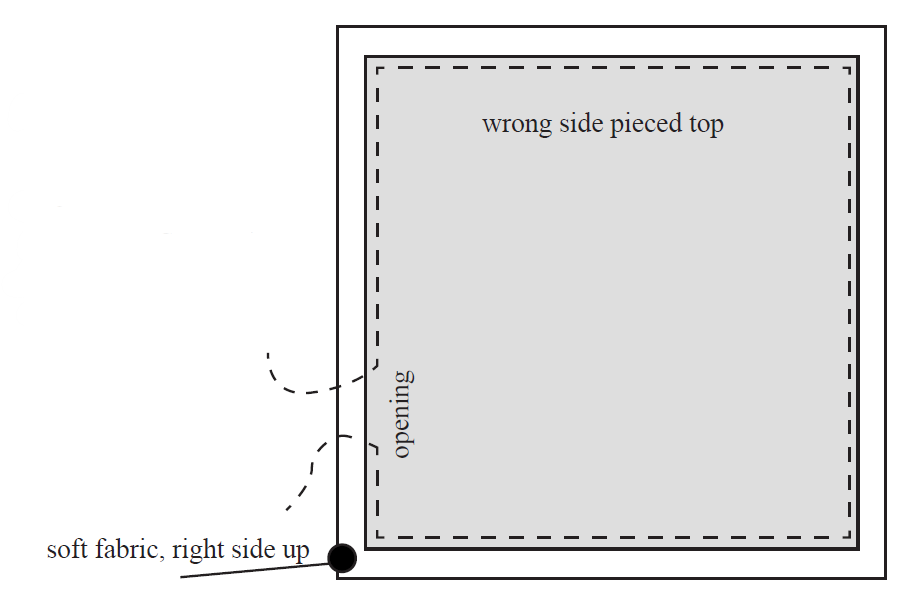
- Sew with the back of the pieced top facing up. Use a 1/4” seam allowance to stitch around the perimeter leaving a 4” opening along one side.
- Trim the excess soft fabric even with the pieced top.
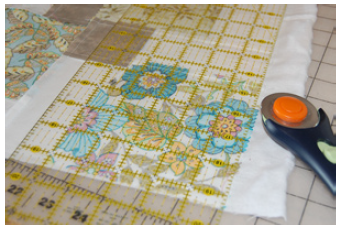
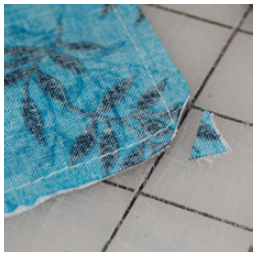
- Trim the excess triangle portion in each corner. This will allow for a nice crisp point when the project is turned right side out.
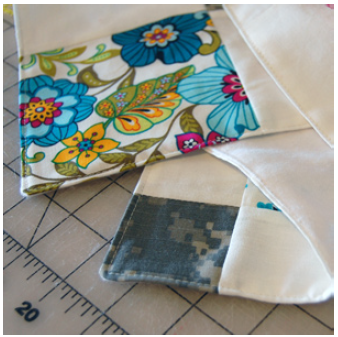
- Turn the project right side out through the opening. Press. Tuck the seam allowances at the opening into the project. Edge-stitch around the entire blanket. (This will close the opening.)
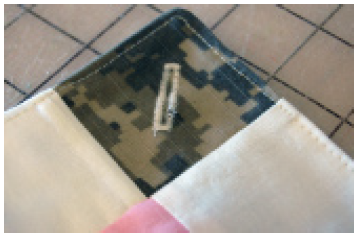
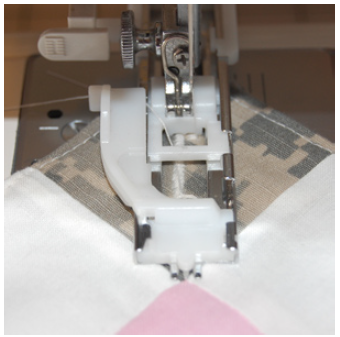
- To finish the blanket, add a grommet or buttonhole to one corner of the project. This will allow you to link or tie the blanket to the stroller so it will not slip under the wheels during walks.
Notes
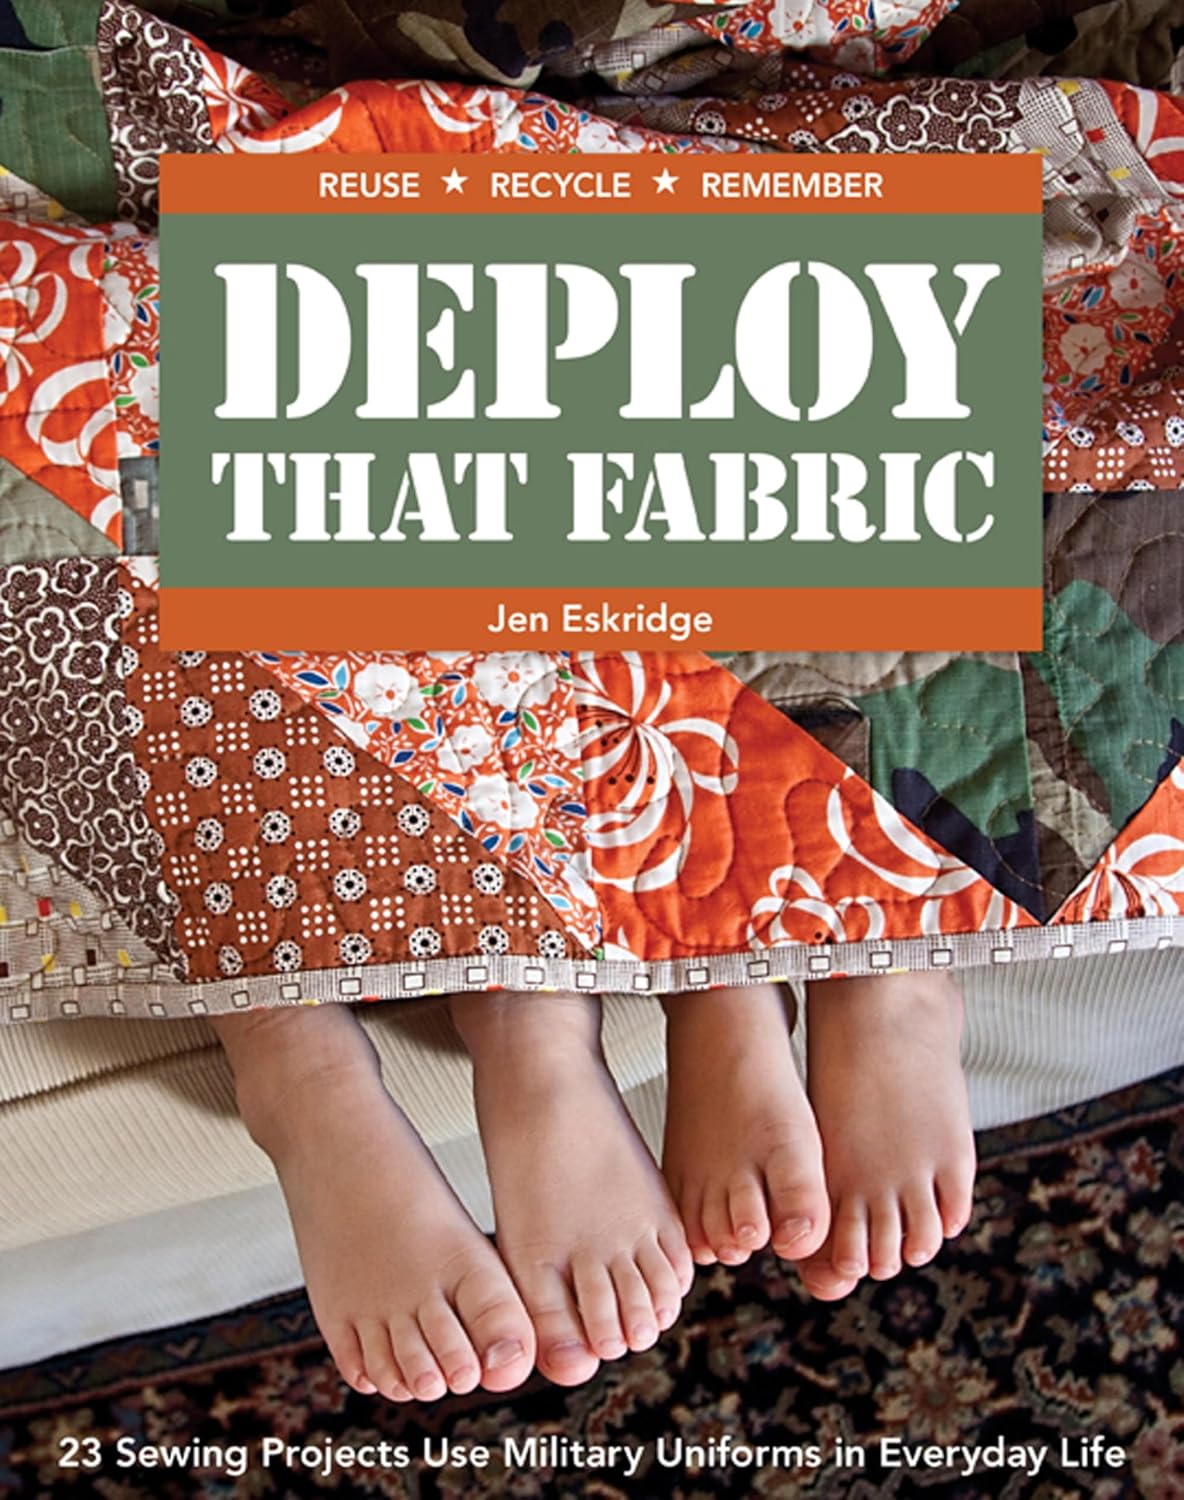
This project originally released with ReannaLily Designs to promote my book, Deploy That Fabric. The book features projects and quilts using military uniforms.
Of course, you can use any 5" charm squares to create this small coverlet.
Categories: : Tutorial
I have read and agree to the terms & conditions.