Chicken Chook Pin Cushion Free Sewing Tutorial by Jen Eskridge
 Jen Eskridge
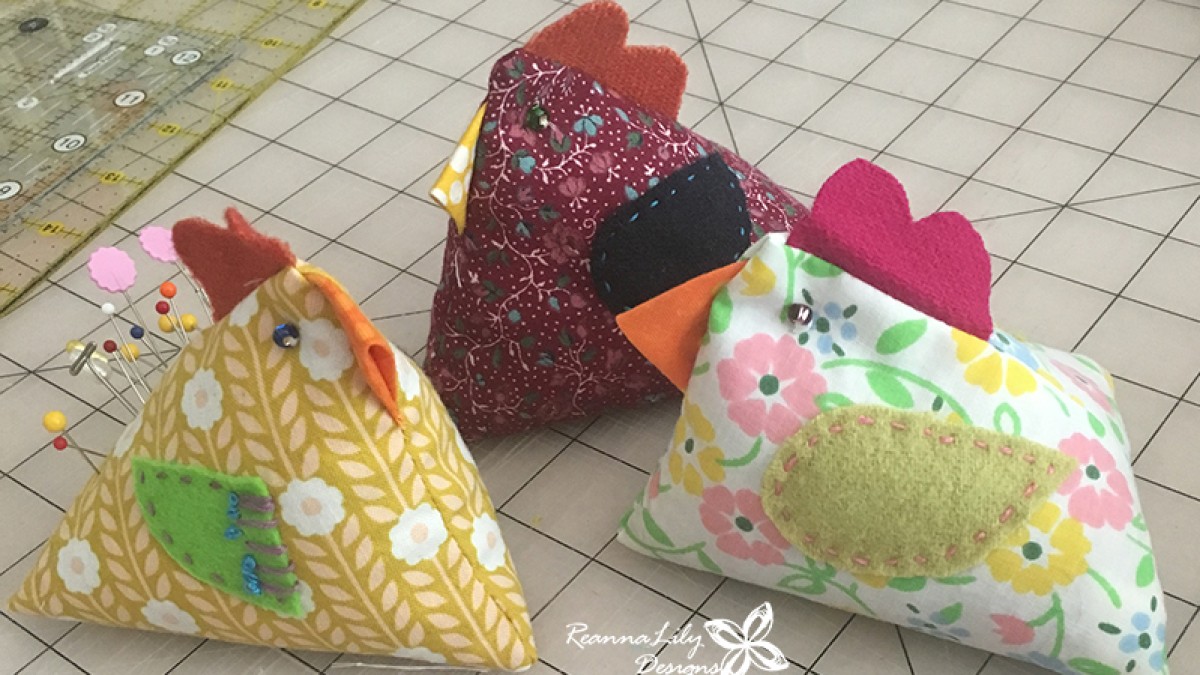
Make this adorable chook pincushion for yourself or your sewing friends. Use fabric scraps and go wild with the embellishments.
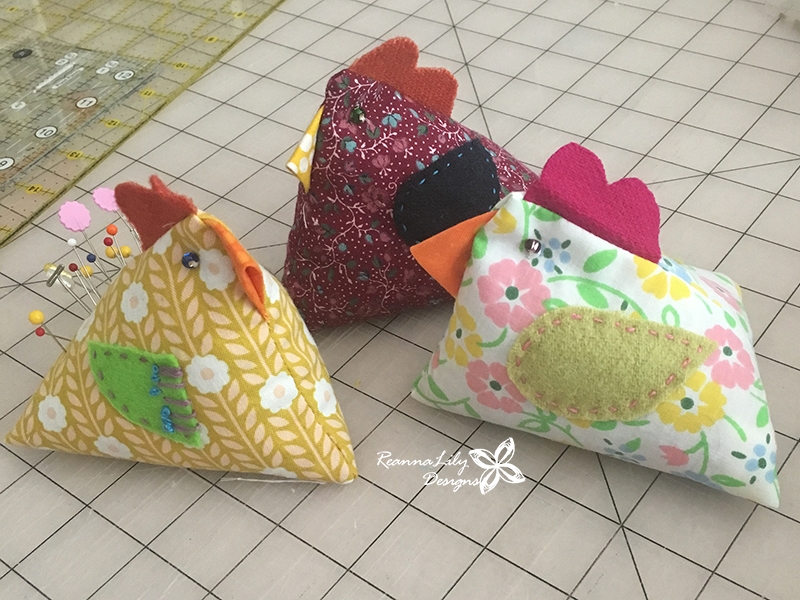
Chicken Pin Cushion Tutorial
Make this fun little pin cushion for yourself or your sewing friends. This is a great project for young sew enthusiasts, too. Use fabric scraps, felt, beads and embroidery floss to create a little personality for this sewing buddy.
Supplies
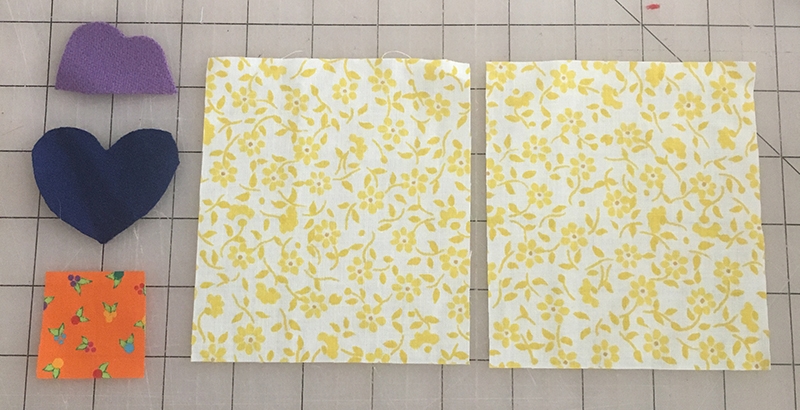
- 1 fabric square approximately 1-1/2" x 1-1/2" for the beak
- 2 felt fabric squares approximately 2" x 2" for the wings and comb
- 2 fabric scrap rectangles 4" x 4-1/2"
- Optional: seed beads or buttons for eyes
- Optional: glue stick or Elmer's school glue
- Assorted embroidery floss for embellishing
- Hand Sewing needle
- Scrap batting for pincushion filler
- Ground Walnut Shells for pincushion filler
Construction
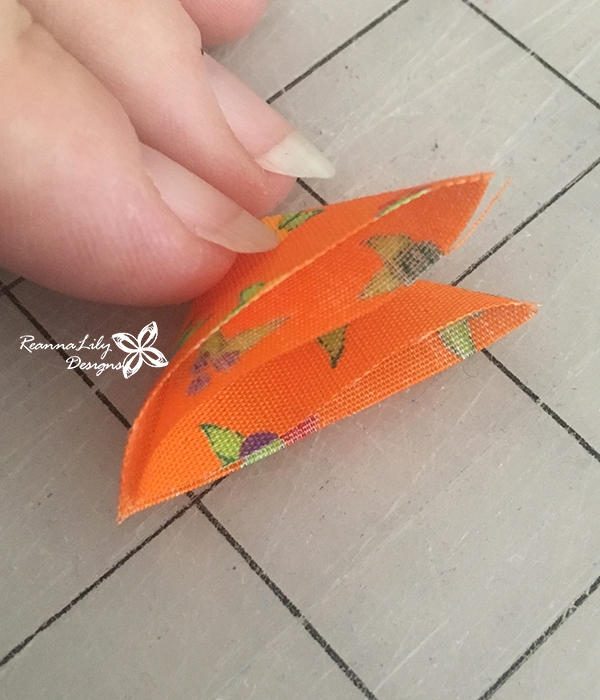
- Fold the beak fabric in half on the diagonal. Finger press.
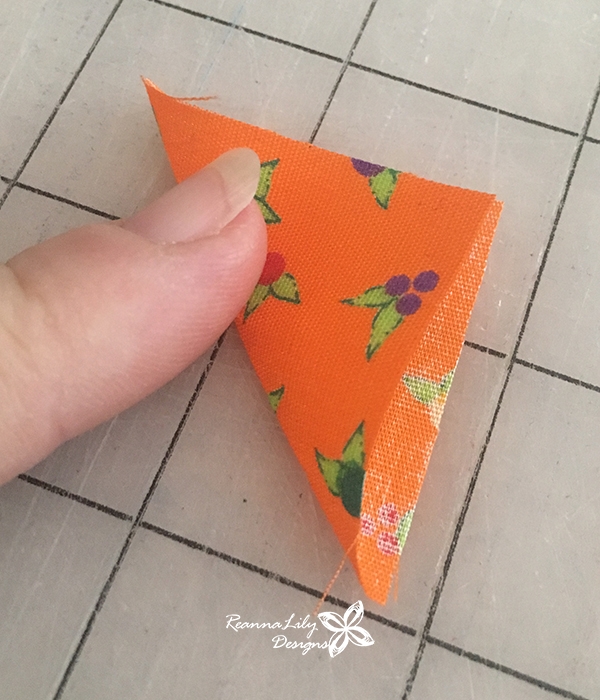
- Match the cut edges and fold in half again to form a small triangle.
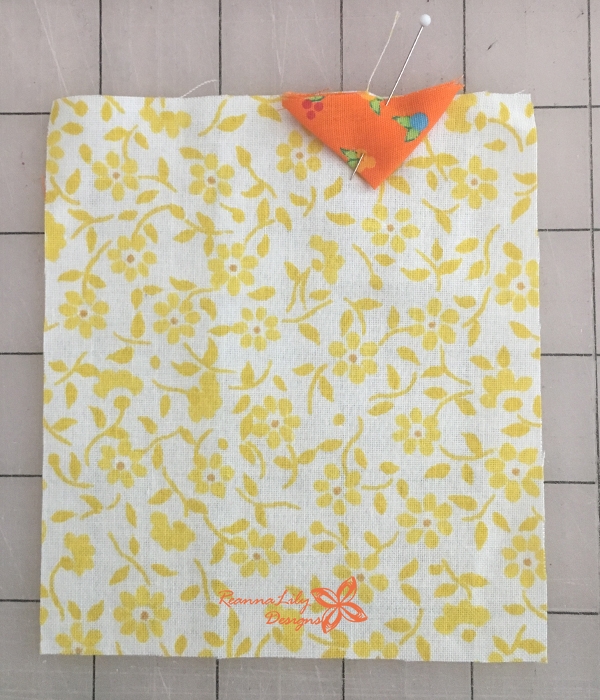
- Position the cut edge of the small triangle approximately 1" from the right-hand side along the short edge of the 4" x 4-1/2" fabric rectangle. Make sure to point the triangle in TOWARDS the fabric scrap as shown below. Pin it to the right-side of the fabric.
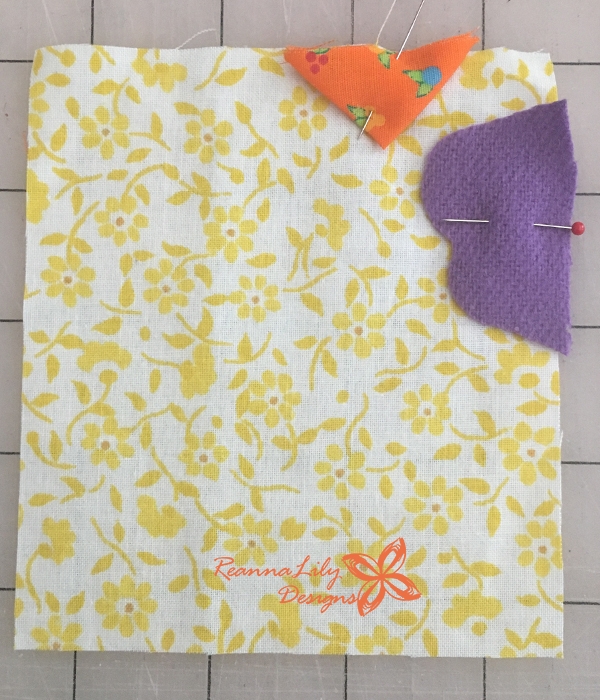
- From one felt fabric square, cut a shape to represent the chicken's comb. This could be a wave, it could be spikes, it could be shredded like spaghetti. Anything goes with this funky chicken comb. In the sample, I've made a gentle wave from purple felt.
- Pin the comb shape approximately 1/4" down on the right-hand side of the fabric rectangle. Pin to the right-side of the fabric, also pointing in TOWARDS the fabric.
- Matching right sides of fabric, lay the second fabric rectangle on top of the first. Pin along three sides leaving the bottom short side unpinned. NOTICE: In the photo below, the pins are still in the beak and comb pieces. If this stresses you out, you can simply baste them in place & remove the pins before sewing the three sides.
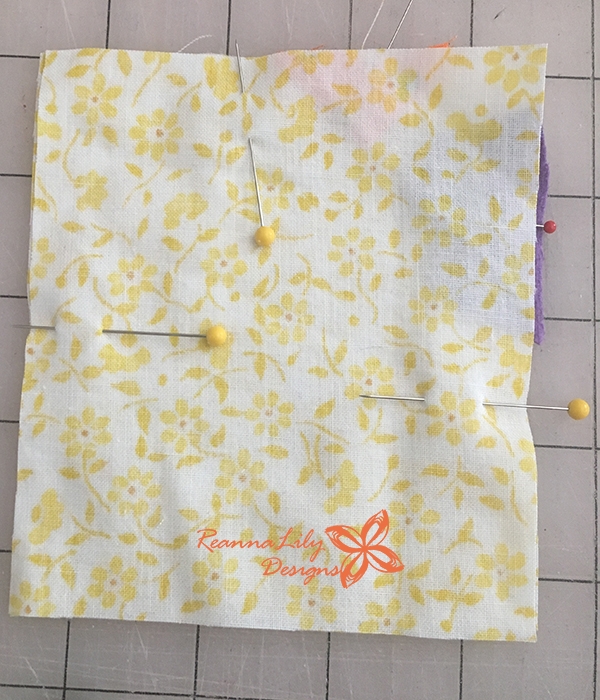
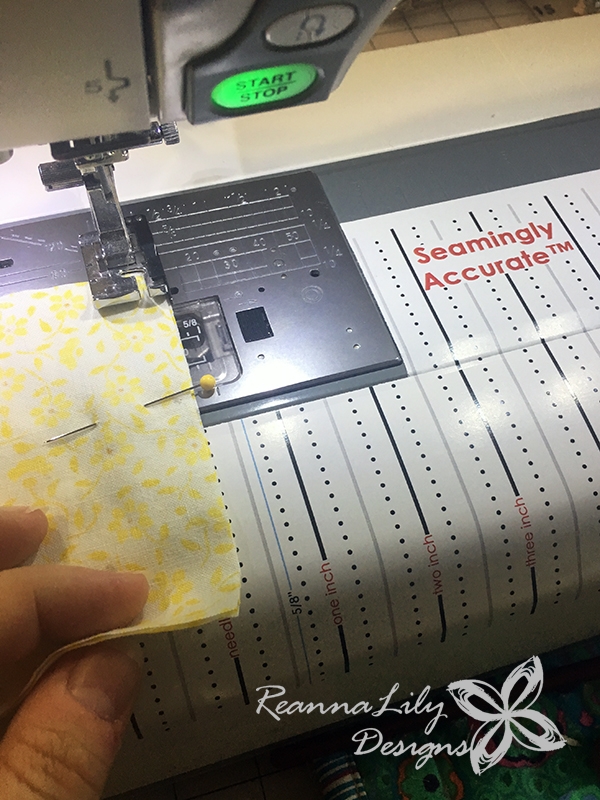
- Using a 1/4" seam allowance, sew around all three sides completely. I'm using a Seamingly Accurate Seam Guide and a 1/4" Presser Foot to get my 1/4" seam allowance.
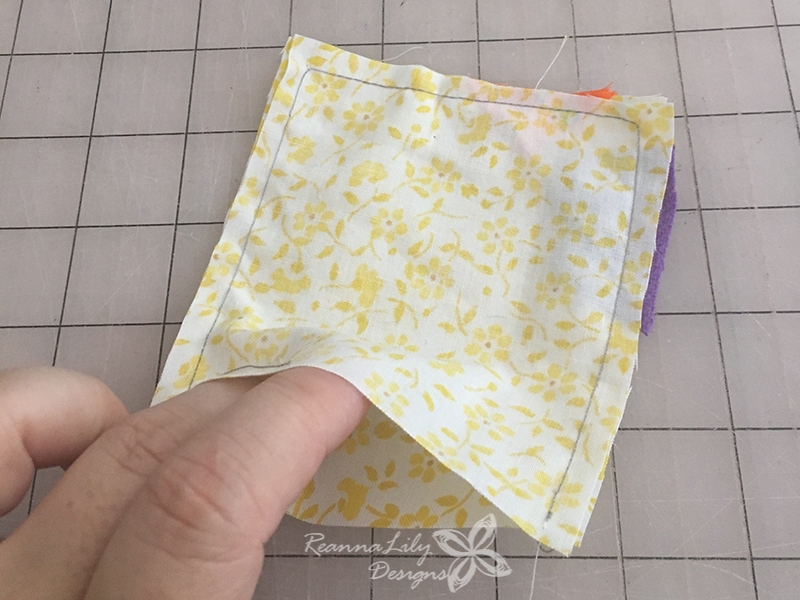
- Turn the chicken right side out. Don't skip this step. Check the placement of the beak and comb at this time. If you need to shift any element, turn the project wrong side out and unsew (seam rip) the areas that need adjusting.
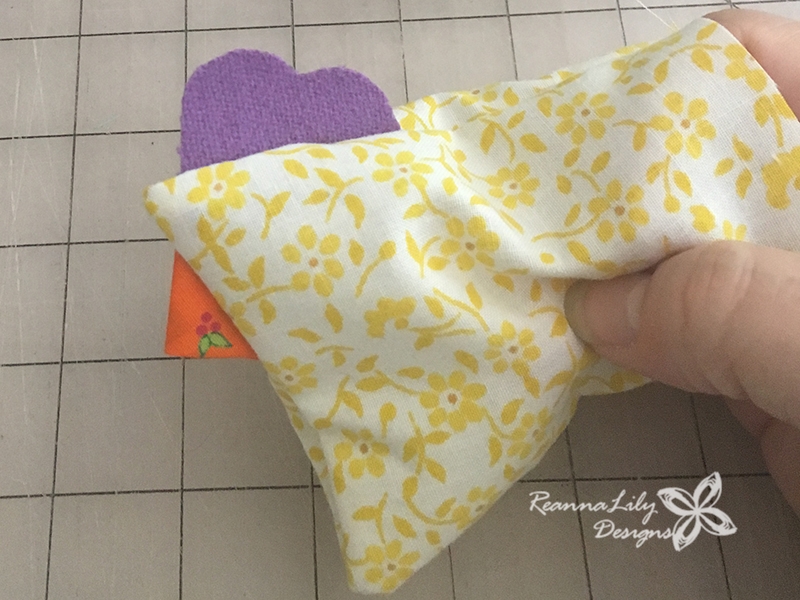
- Once the beak and comb are set, both reasonably close to the corner of the pincushion, turn it wrong side out.
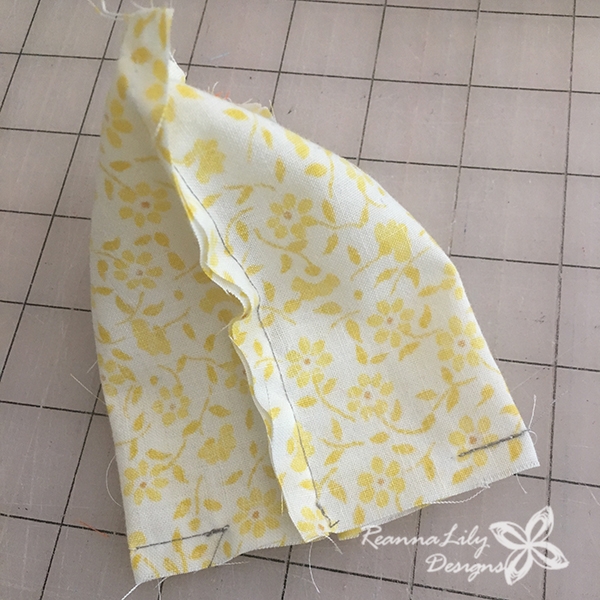
- Pinch the remaining open edge in half, matching the seams. This is the magic that creates the triangle shape bird.
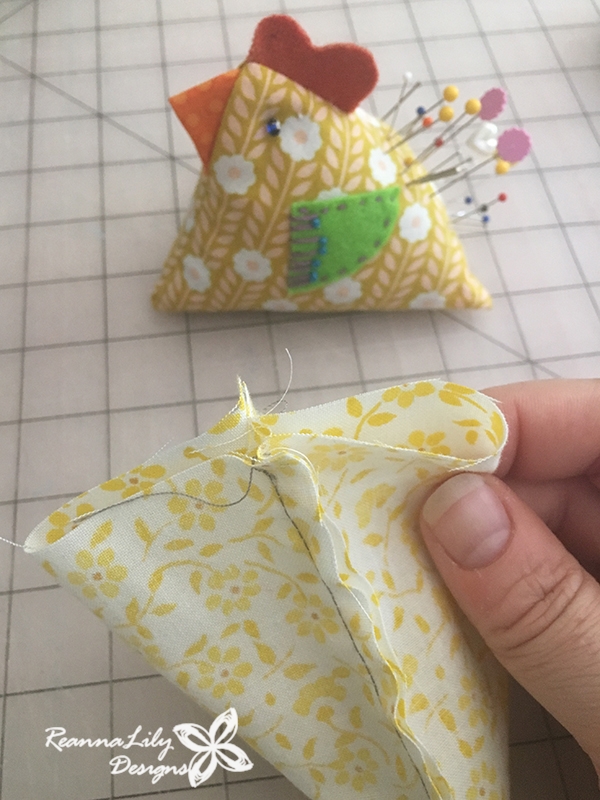
- Pin.
- Using a 1/4" seam allowance, sew and backstitch 1/2" on the start and end of this seam.
- Leave an opening along this bottom edge as shown.
- Turn the pincushion right-side out through the opening.
- Push a piece of scrap batting into the triangle that will be the chicken's forehead. This will give us something to sew through when we add the eyes.
- Using a piece of paper, create a small funnel. Use a pin to secure your funnel shape.
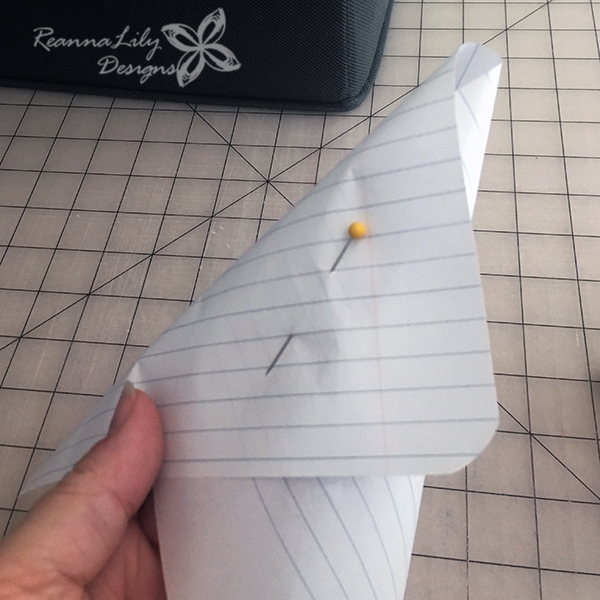
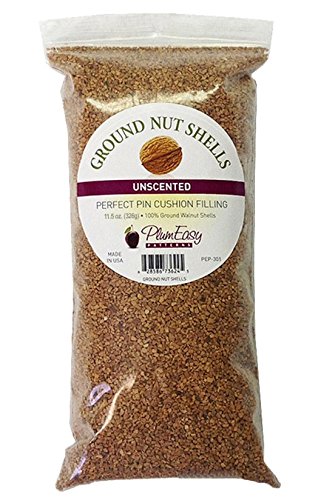
- Use the funnel to pour walnut shells into the opening.
- Add scrap batting at the end to make the area by the opening a bit softer.
- Tuck in the seam allowances and pin the opening closed.
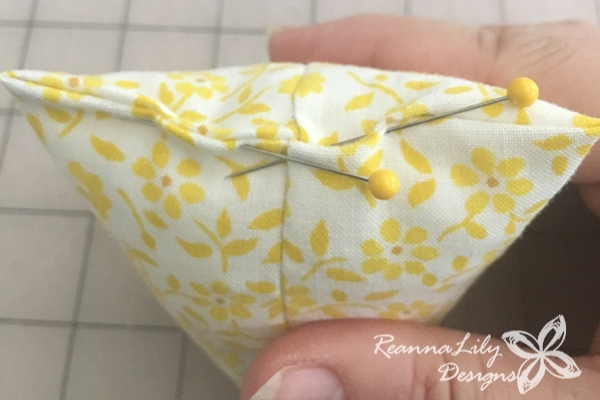
- Use a hand-sewing needle and thread to sew this opening closed. Use a whipstitch or ladder stitch to secure the end.
Embellishments
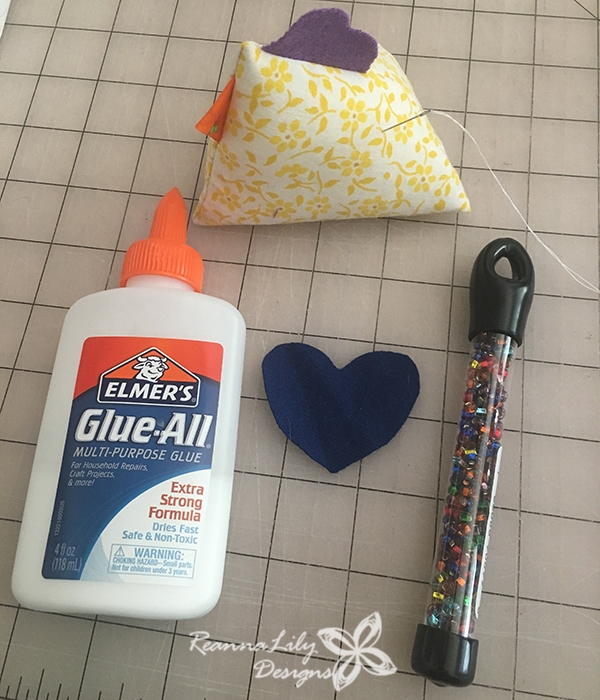
- From the remaining felt square, carefully cut a heart shape.
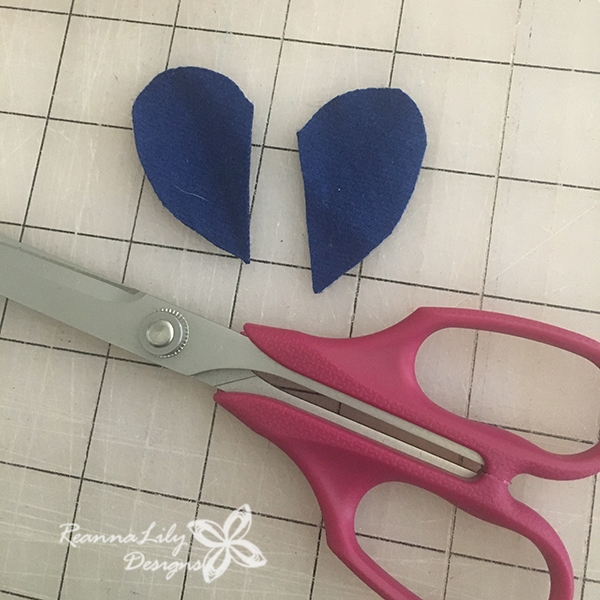
- Cut the heart in half to create the wings.
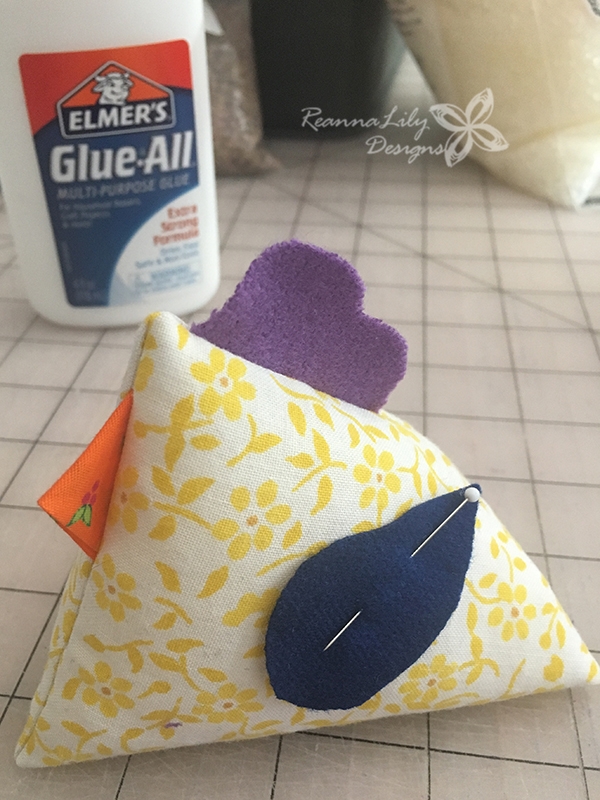
- Pin or glue baste the wings in place on the right and left side of the pincushion.
- With sewing machine thread, add a seed bead or button to the right and left side of the triangle to create eyes for the bird. The knots to secure the beads are pulled within the fabric scrap and are concealed. If you do not have beads or buttons, you may opt to add eyes using a simple "french knot" embroidery stitch on the right and left side. There are many many demos on Youtube as to how to create a french knot stitch.
- Using embroidery floss, stitch the wing in place. This is the part where your imagination can really experiment! Use any stitch you like. Add any details you like.
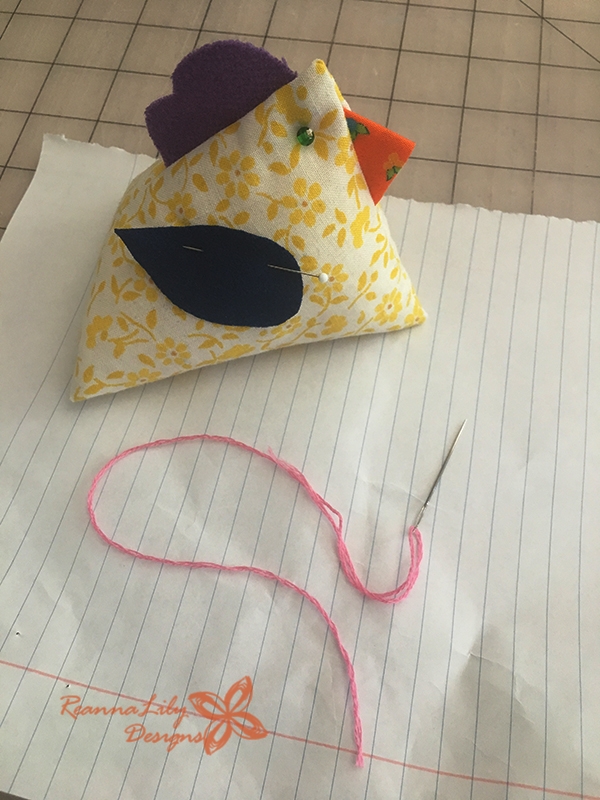
- I opted for a running stitch on this sample.
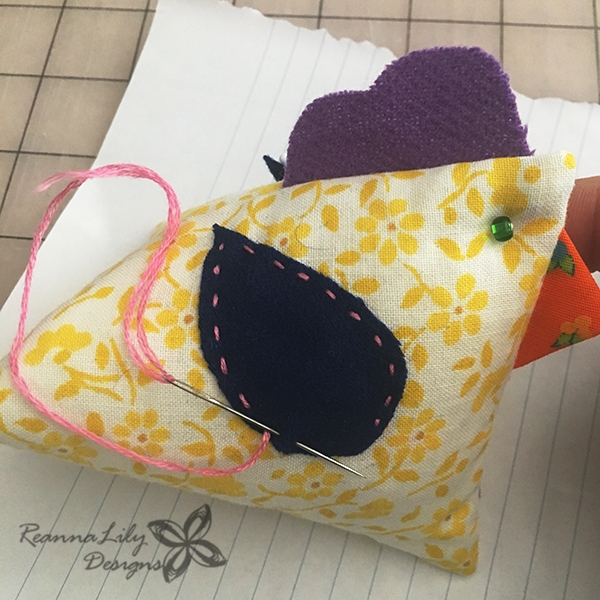
FINISHED
Once the embellishing is complete, the pincushion is ready for their life by the sewing machine. Great work!!
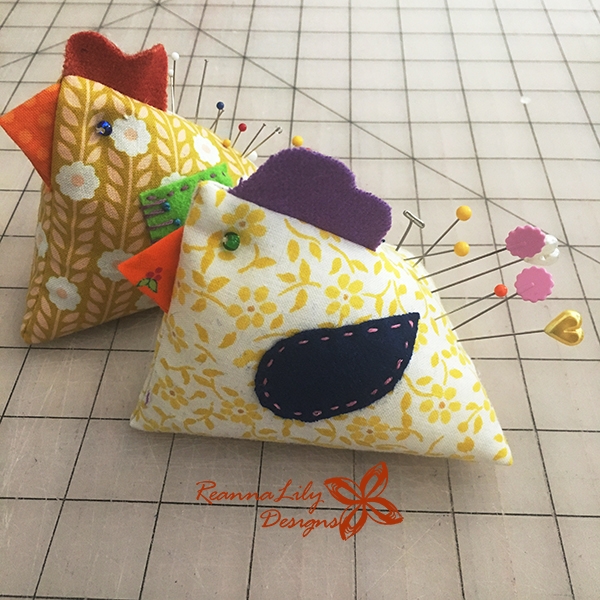
Give it a try and tag #quiltyquill if you share it online.
*This post may contain affiliate links.
See more items from the Quilty Quill here:
Web: https://www.quiltyquill.com
YouTube: https://www.youtube.com/@QuiltyQuill
Instagram: https://www.instagram.com/quiltyquill/
Facebook: https://www.facebook.com/QuiltyQuill
Categories: : Tutorial
I have read and agree to the terms & conditions.