Car Shade Grocery Tote Sewing Tutorial
 Jen Eskridge
Sometimes you need an insulated bag. Not a full-on cooler with hard sides and wheels, but just an insulated bag.
Car Shade Grocery Tote Sewing Tutorial
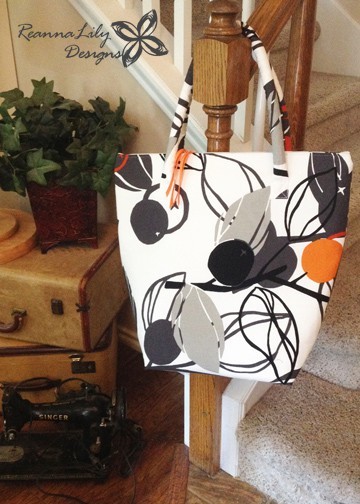
Sometimes I need an insulated bag. Not a full-on cooler with hard sides and wheels, but just an insulated bag. I decided to whip one up and share my how-to with you on the blog today. The bag is pretty big and measures 19″ x 16″ x 7″.
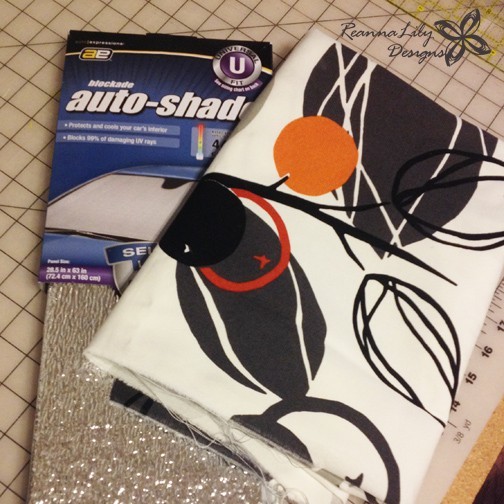
Supplies
- 1 yard decorator weight fabric, 54″ wide (fabric used in sample is from Ikea)
- reflective car shade
- 1/2 yard cording, 1″ wide
- pieces grosgrain ribbon 3/8″ wide x 10″ long
- 22″ long plastic, non-separating zipper
- 2 large safety pins
- Turning Tool
Construction
Prepare the Insulated Grocery Tote Bag Body
Cut the fabric to 42″ x 20″
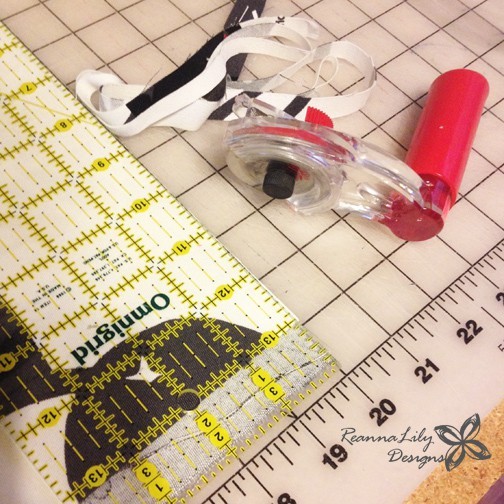
The car shade has two sides: a reflective side and a plain side.
Place the reflective side down on your work surface and lay the home dec fabric rectangle on top. Pin
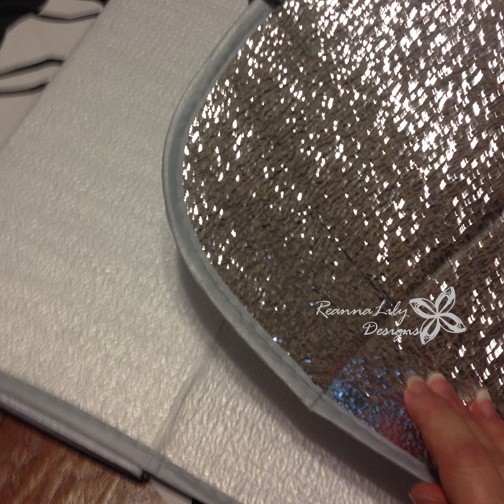
Carefully cut out the car shade, using the home dec fabric as your pattern.
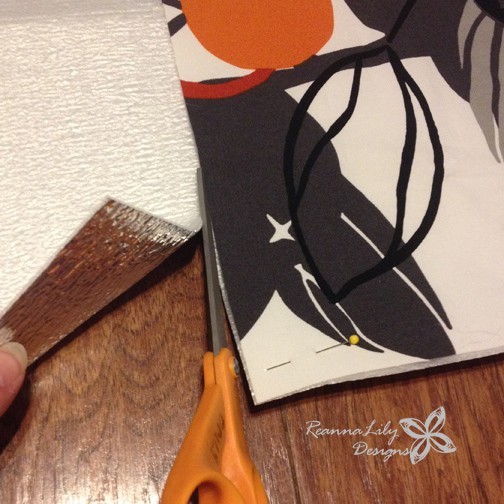
Baste around the entire perimeter, 1/4″ from the cut edge, so that the two layers will act as one while we stitch the bag. This is called underlining the fabric.
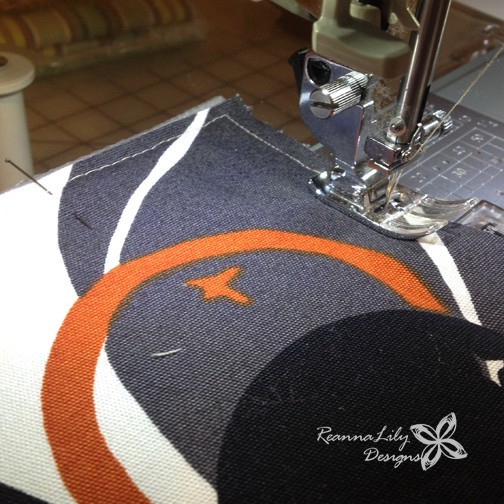
Make the Fabric-Covered Handles
Cut two pieces of decorator fabric 3″ x 32″
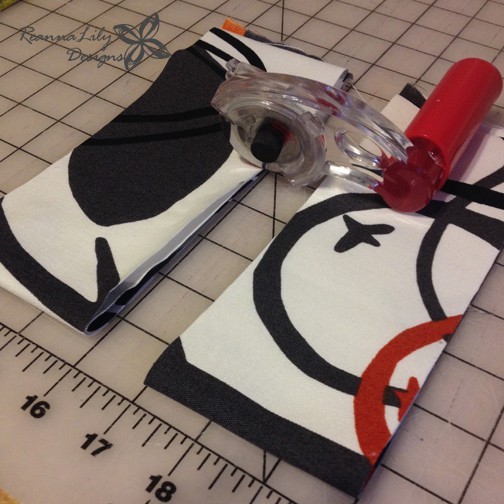
Fold the long rectangles in half, lengthwise, to create a casing/strap.
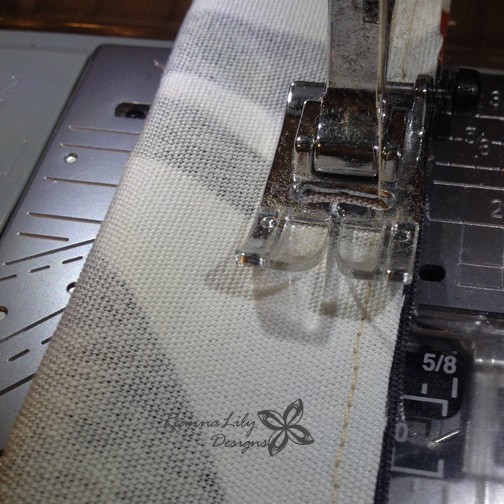
Stitch using a 1/4″ seam allowance. Grab a Seamingly Accurate Seam Guide to make sure your 1/4″ seam is always accurate.
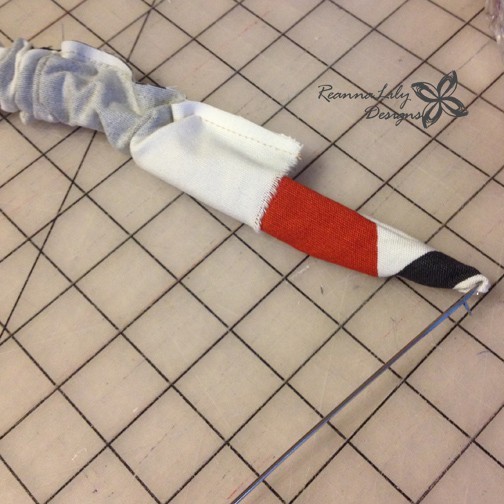
Use a turning tool to turn each casing/strap right-side out.
Cut the 1″ wide cording to 26″ long.
!! Make sure to wrap tape generously around the area to cut. This will ensure the cording doesn’t fray apart. !!
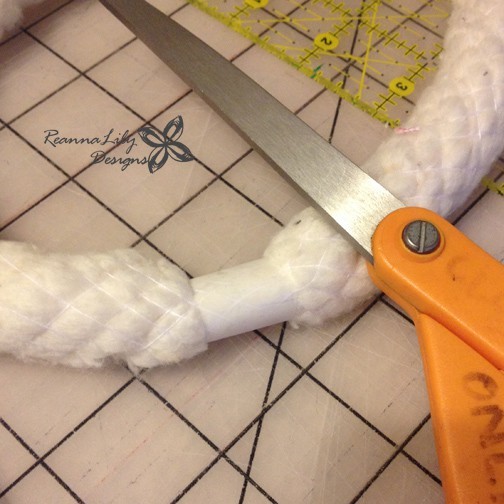
Place a large safety pin at each end of the cording, through the tape.
Use the safety pins to carefully push the end of the cording through the casing.
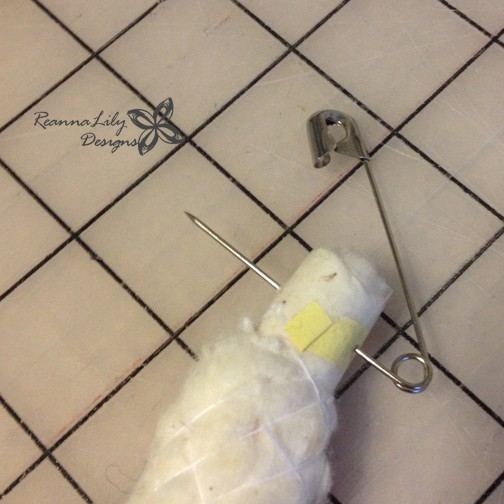
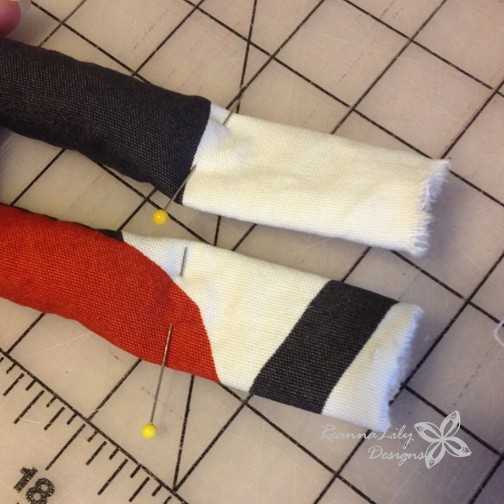
Once the cording is completely inside, trim the casing evenly 2″ longer than the cording on each side.
The pins in the picture show you where the cording stops. It was tricky to get a good photo of that one.
Build the Insulated Grocery Tote
NOTE: If you wanted to add a drop-pocket or patch-pocket to the front of the bag, add it now. This tutorial doesn’t feature a pocket.
Measure and mark the handle placement: 5″ from the side seam and 4″ down from the cut top edge.
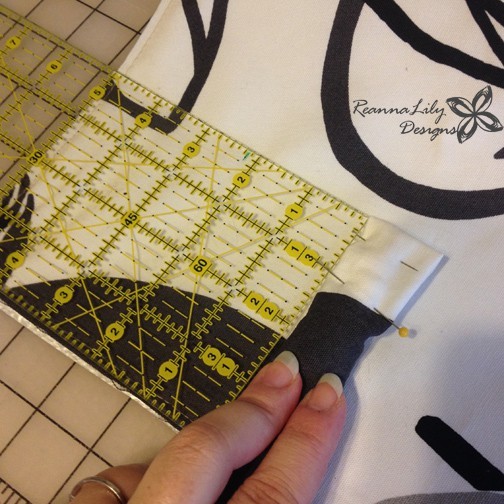
Fold the handle cut edge under 1/2″. Pin in place.
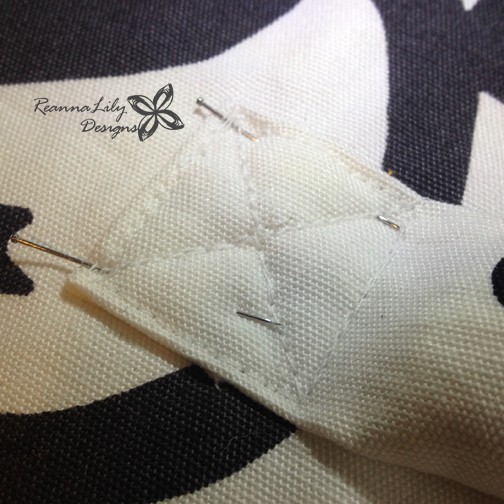
Sew a square, then an X to secure the handles.
Apply the Zipper
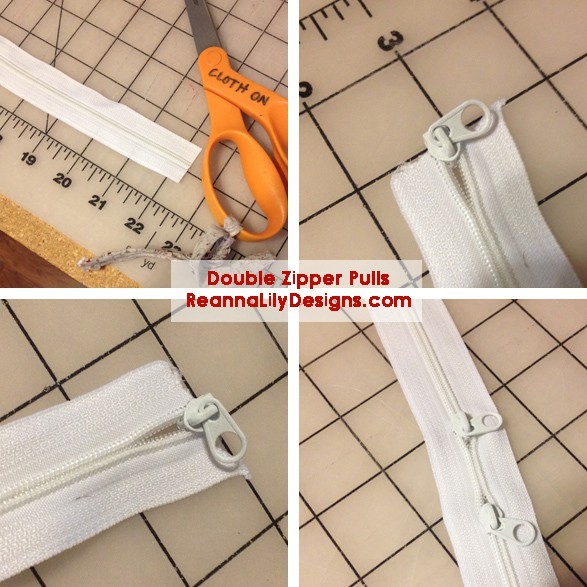
I used a cut-to-length zipper, which required a small bit of prep:
- Cut zipper to length, 22″.
- Add two zipper pulls.
A regular 22″ plastic, non-separating zipper would work fine here. Fold the short edge of the bag body towards the wrong side 1/2″
!! Do NOT press this fold. The car shade may melt!!
Mark the center of the zipper with a pin and the center of the short edges with a small notch.
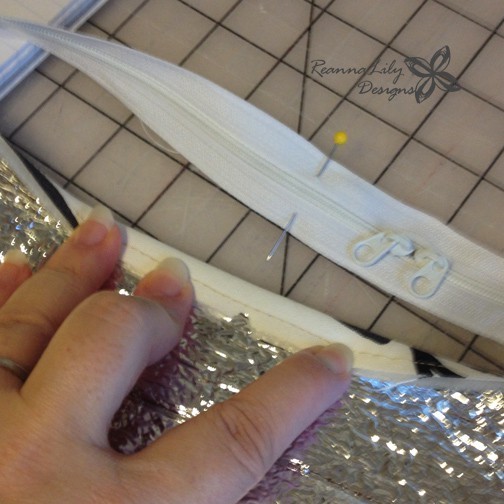
Place the zipper behind the folded edge and pin in place.
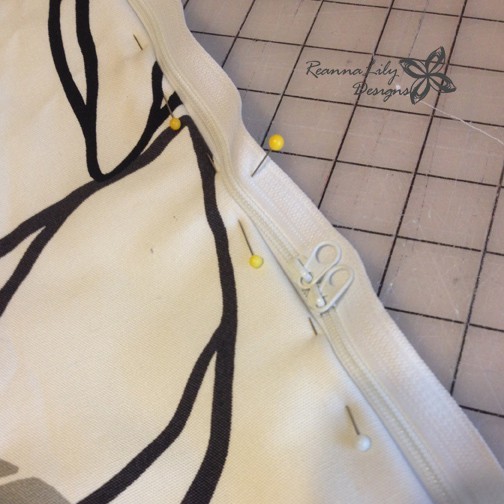
Use a 1/4″ seam allowance to stitch the zipper in place, removing pins as you stitch. Repeat for other side.
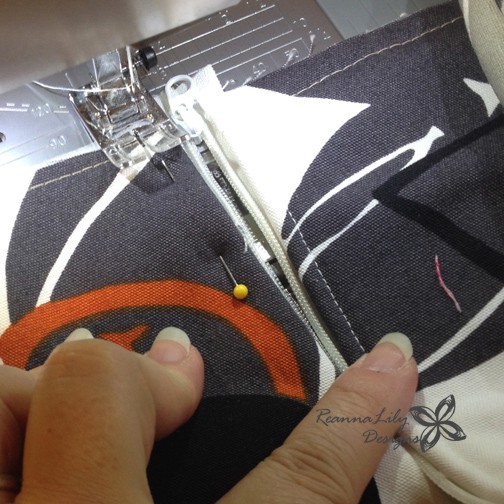
Here’s how the zipper looks from the front/top.
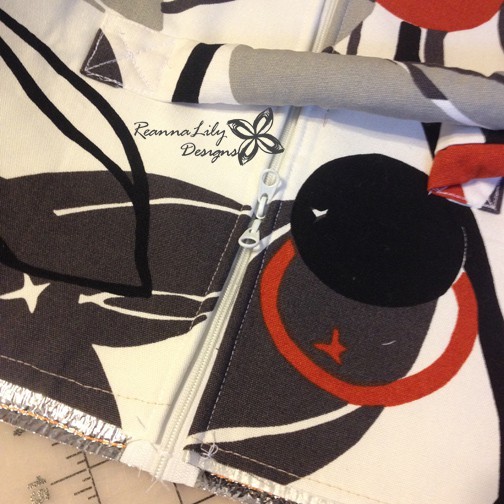
Turn the bag inside out.
Pin and stitch the side seams with a 1/2″ seam allowance.
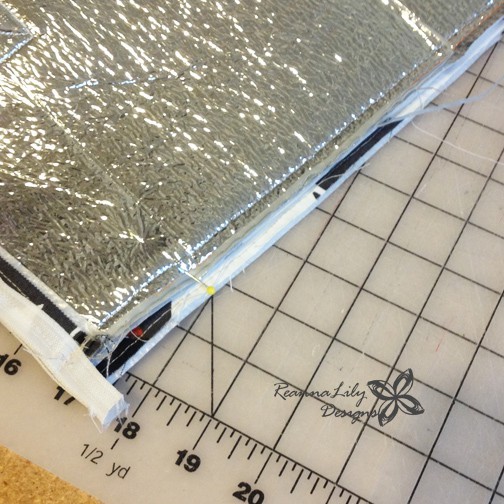
With the bag still folded in half, inside out, place a pin in-line with the bottom fold. This will determine the center bottom line.
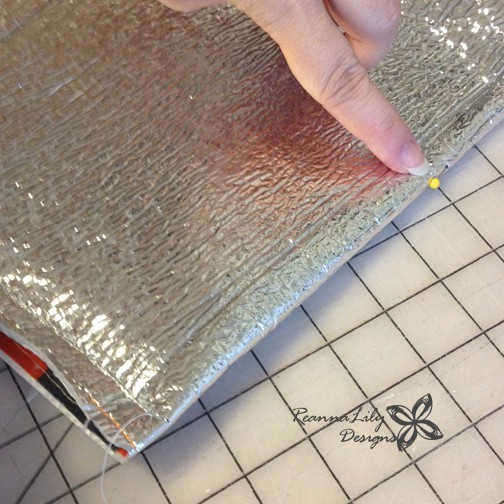
Match the side seam with the center bottom pin to create a triangle shape.
Reach inside the bag to smooth out the decorator fabric inside the triangle. Remember, this area isn’t basted.
Pin the triangle in place.
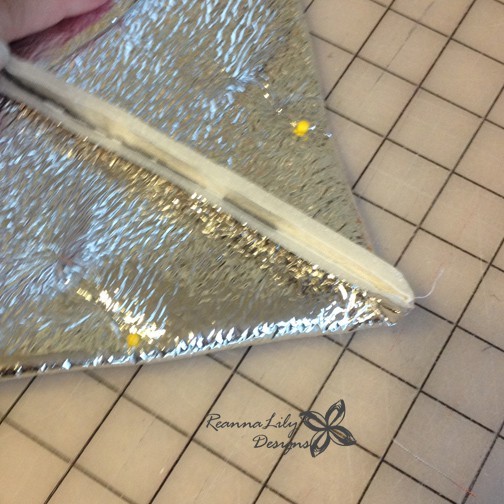
Measure 7″ across the triangle, lining the 3-1/2″ mark with the side seam line.
Mark with a pen.
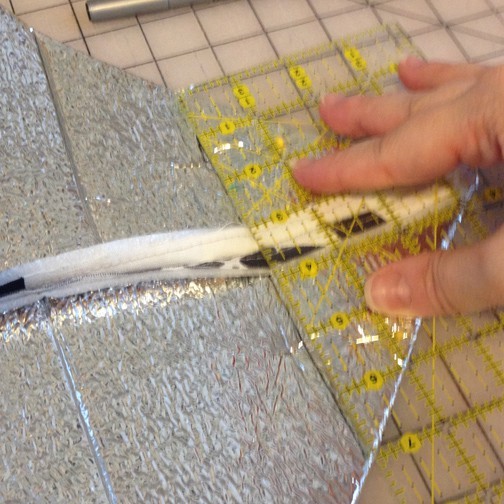
Stitch on the marked line.
Trim away the excess at least 1/4″ past the stitching line.
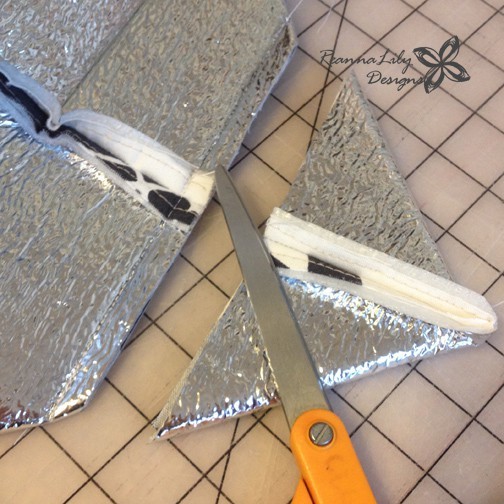
Turn the bag right side out.
You could be done at this step…
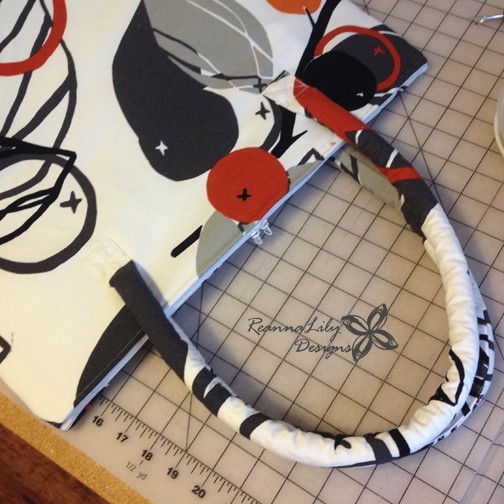
But I thought my zipper pulls needed some more umph. The bag is so large, and the pulls are so tiny.
Fold the ribbons in half and push the fold through the zipper pull hole. Push the ribbon ends through the loop.
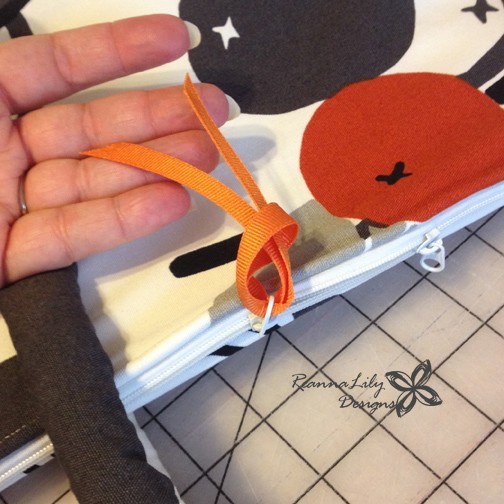
Pull the ribbon ends. NOTE: You may want to add a little fabric glue to keep the ribbons in place indefinitely.
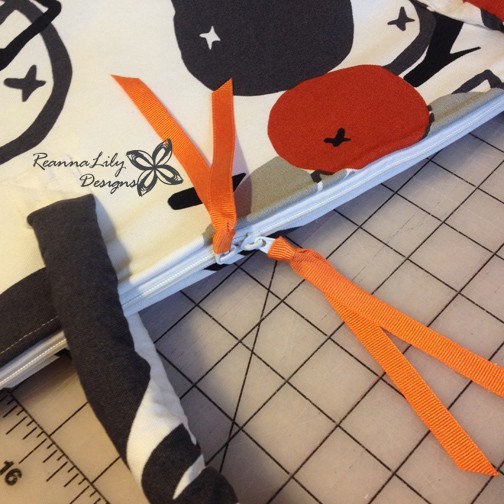
Insulated Grocery Tote.
Ready for a bike-ride picnic or a trip out to the family lunch on the weekend.
Updated to add: I would not wash this bag in the washing machine. Spot wash the outside with a wash cloth and use a cleaning wipe for the interior.
Categories: : Tutorial
I have read and agree to the terms & conditions.