Batik Braid Tutorial
 Jen Eskridge
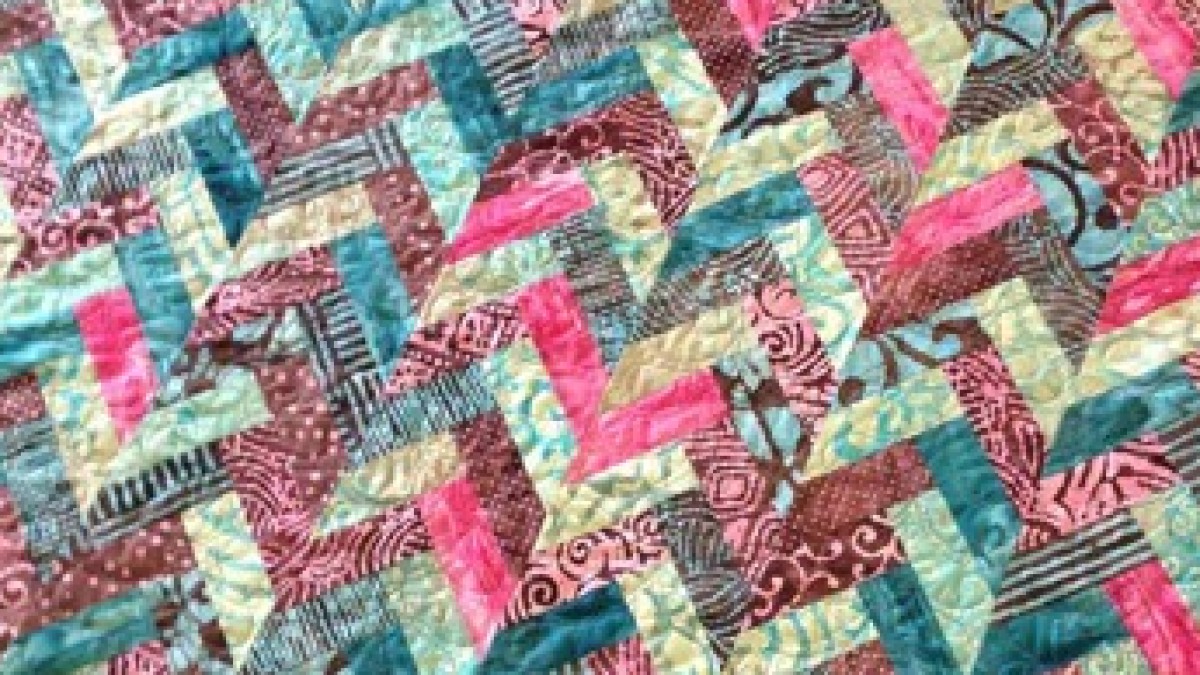
The most popular blog post from ReannaLily Designs- Use a jelly roll to create a braided effect in your next quilt with this easy how-to guide.
The Batik Braid Quilt Tutorial
I cannot believe this was almost 20 years ago! In, what feels like a different lifetime, I had an active blog site (ReannaLily Designs,) and I've recently come across some of my older blog posts. It might be fun to have the content live on here at the Quilty Quill. I'll add current commentary at the bottom, but scroll down to see the original blog post from 2017 ➡️
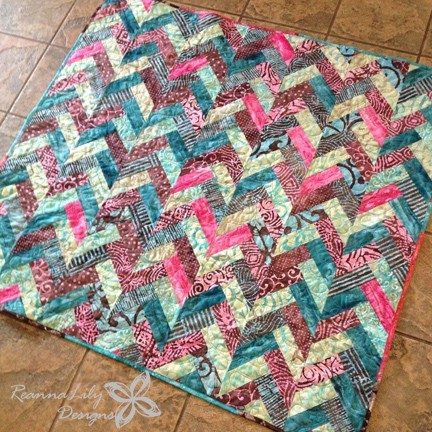
Welcome to my Braided Quilt Tutorial. This tutorial is just a “how I did it” and “this is how it turned out” kind of tutorial. The one jelly roll makes a nice lap sized quilt, roughly 50″ square.
The Batik
Edited to add- It has been pointed out to me that the math for this tutorial is off a bit, for a standard jelly roll. The original jelly roll I used is from Walmart. (My current Walmart sold fabric.) I think there might be more strips in their roll or something because I used the math listed below and I even have pieces left over. BUT if you are using a traditional 40 strip jelly roll- you’ll need to divide your 7 x 2.5″ strips
{There should be 240 of them} equally in to then start the tutorial. (8 piles of 30 strips OR maybe 6 piles of 40 strips.)
Create the Batik Braid Quilt
The following directions are for the quilt I made, with the roll from Walmart. Here’s how it shakes down:
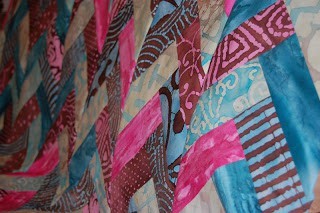
I took the plunge and decided to finally cut into my jelly roll pack. I own 5 packs (well, 4 now) But I’ve been hesitant to cut into the beautiful strips… ’til today.
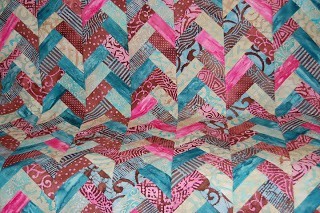
I made the quilt by cutting the jelly rolls into 7″ lengths. (2.5″ x 7″) I then sorted the strips into 7 piles of 40 pieces each.
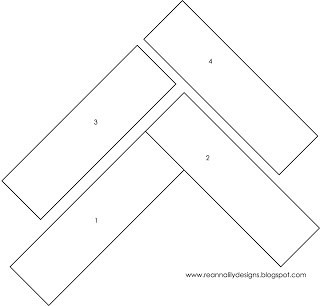
Then using one stack of 40 at a time, start sewing in the above fashion. I grabbed the strips quite randomly, so the quilt has that absolutely scrappy feel. Stitch them in the order illustrated above, alternating right and left sides.
Holding piece 1 in your left hand, right side up, lay piece 2 on piece one, right-side down. Sew that short seam (where piece one is touching piece two) using a 1/4″ seam allowance.
Grab a Seamingly Accurate Seam Guide to make sure your 1/4″ seam is always accurate.
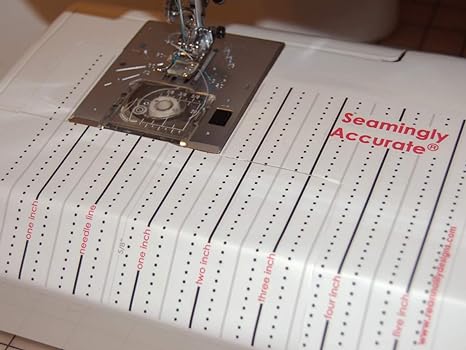
Open this piece. Next add piece 3, match right sides, use a 1/4 seam allowance and make sure piece 3’s short edge is in line with piece 2- as in the picture. I hope that helps. Your quilts are looking really cool.
Next, trim the long braid. You’ll trim it twice; the sides and the ends. First trim off the triangles on the sides. My strips turned out to be about 8″ wide. (The picture below represents all 40 strips, not just the 10 or so shown.)
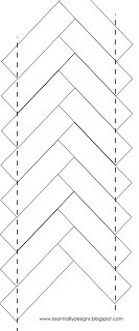
Next you’ll need to square up the top and bottom ends. (The picture below represents all 40 strips, not just the 10 or so shown.)
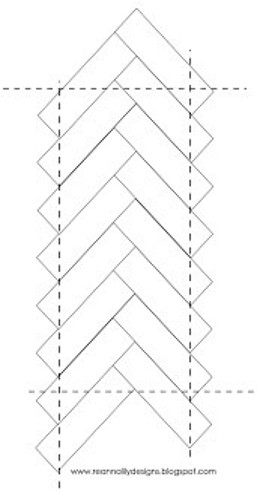
The long strips will not have intersecting seams, so its ok to square off the ends at “the point where you run out of fabric”. Does that make sense?
After the 7 wide braided strips are complete & square, ya just sew them together. When the quilt top is complete, you will need to go back with your rotary cutter and trim the top and bottom edges so they are flush and even with one another.
Go forth and cut into those jelly rolls!!!
Quilting the Batik Braid Quilt
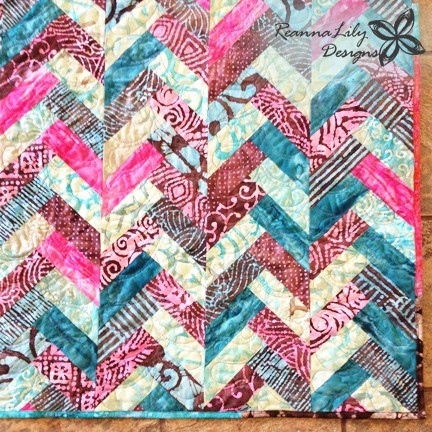
It took me a while to decide how I wanted to quilt the Batik Braid quilt. I ultimately decided to treat each column of the quilt as its own individual quilting space.
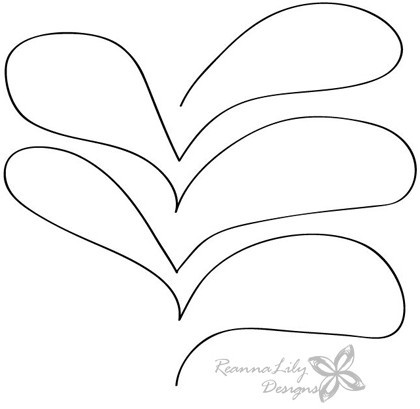
Updated to add: If you'd like to learn how to free-motion quilt check out the quilting classes at the Quilty Quill. If you are a computerized longarmer, grab a similar design to this spineless feather in the Quilty Quill Etsy shop.
Using a Sulky Blendables Thread thread on top, pink thread in the bobbin, and my domestic home-sewing machine, I free motion quilted Spineless Feathers on each column. To create the feather make a half-heart shape to the right, then a half heart shape to the left. Create each new half heart shape at the “V” of the bottom or top, depending which direction you are quilting. The “V” is the key to the Spineless Feather.
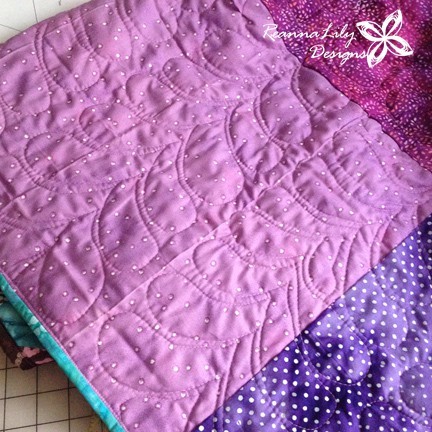
You can generally see quilting better from the back. … but not always.
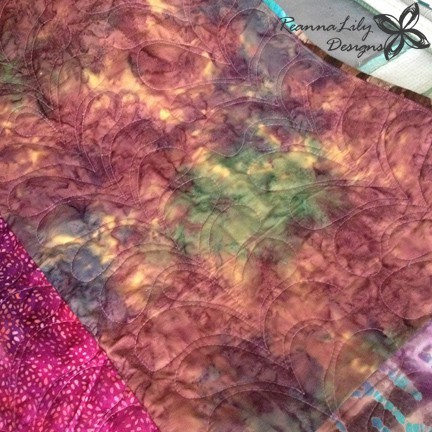
Now you might find this strange- I bought the original jelly roll in 2008 or 2009 in a small town, back when Walmart still carried fabric. I didn’t buy or save any binding fabric. The binding was purchased at Joann fabrics in 2015 and matches pretty darn well. Way to go batik fabric. Well, played.
Updated to add:
This is proving to be a neat journey going through 20-year-old blog posts and seeing how my sewing, my writing, and my quilting have evolved. I hope you are also enjoying these updated posts. Tag #quiltyquill if you have a Batik Braid to share on social media.
Categories: : Tutorial
I have read and agree to the terms & conditions.